

前言:本教程使用的是 Windows 操作系统,所使用的编辑软件是 notepad++,不要使用记事本或者 Editplus 等编辑软件,会导致乱码从而报错。本博客使用的主题是 icarus,所以主要针对这个主题进行美化。先学会配置这一个主题,然后你再自己去配置自己喜欢的主题。代码顶部左边是代码所处文件的位置,代码的右上角有个小图标,点击即可复制。后期我会把博客版本打包分享给大家,或者推送到 GitHub 分享。
第一阶段:Blog 的环境搭建
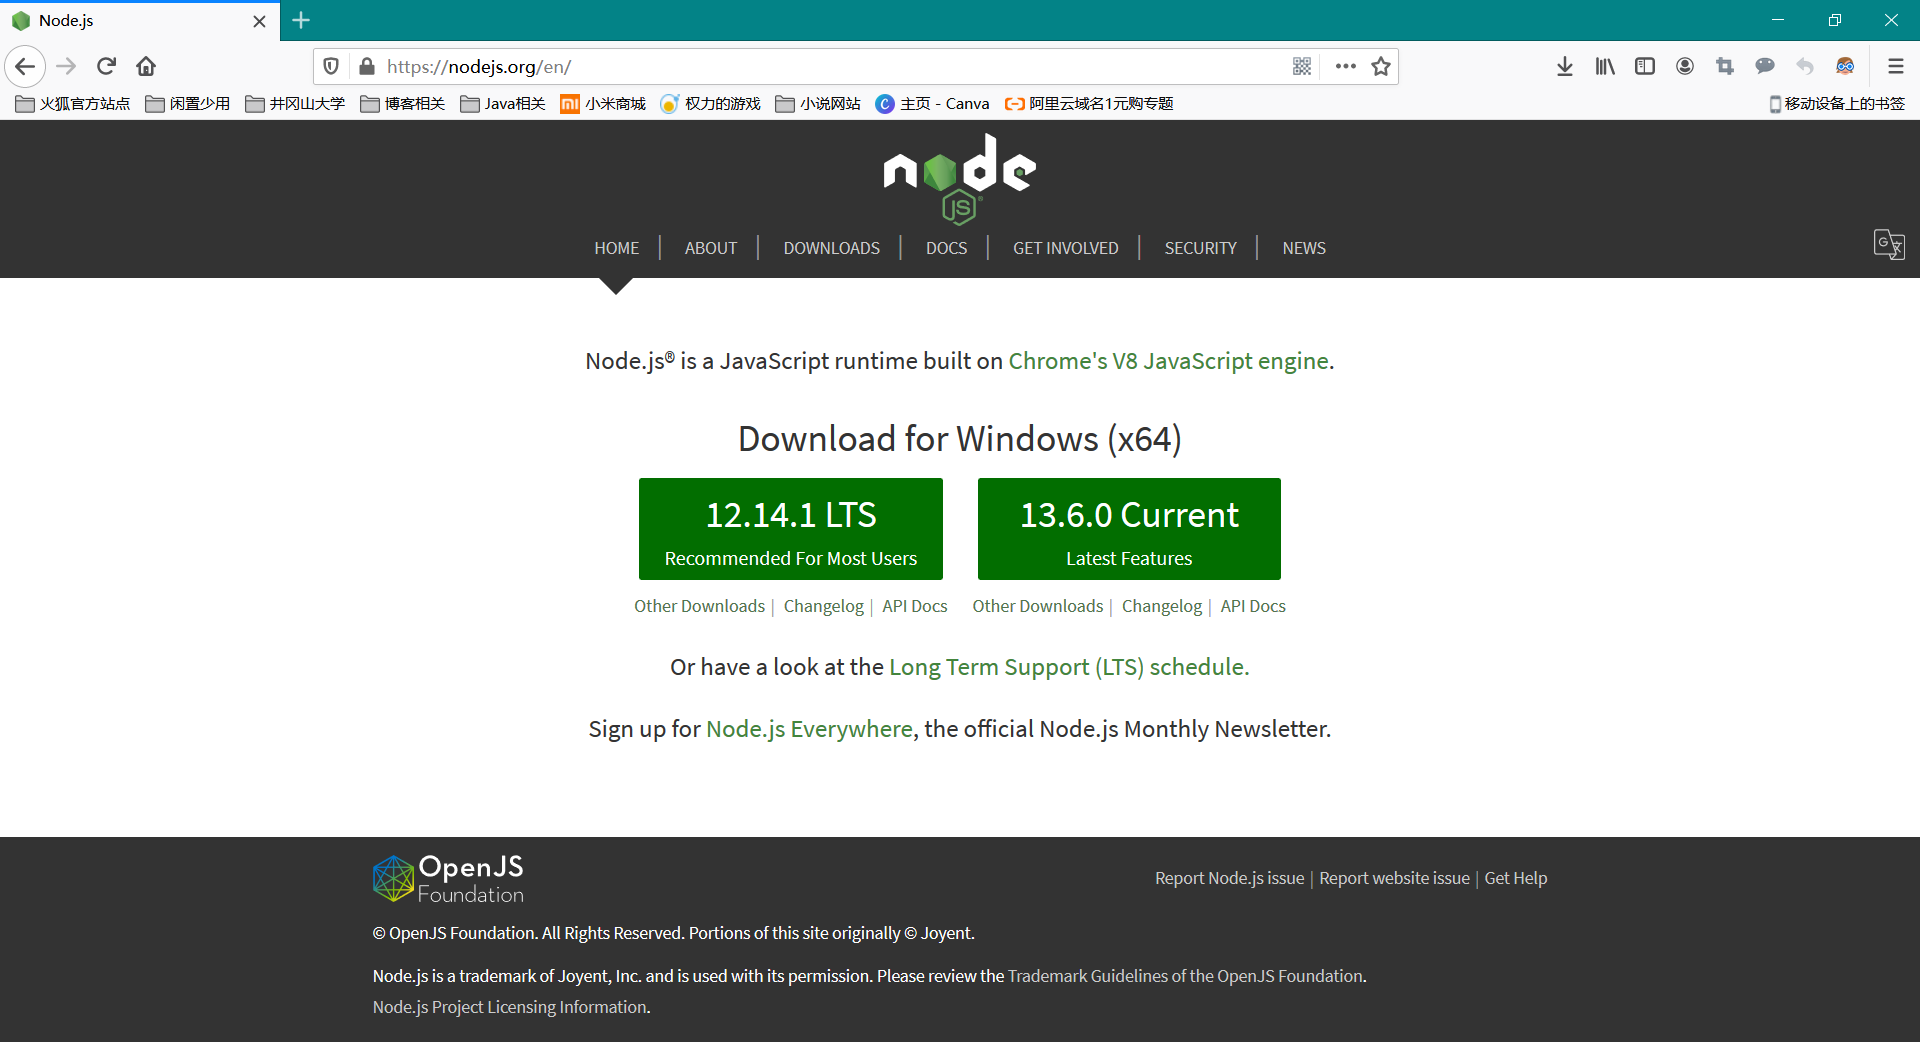
下载 NodeJs 软件
访问官网:www.nodejs.org 选择 LTS 版本即可,如下图所示:
安装 NodeJs
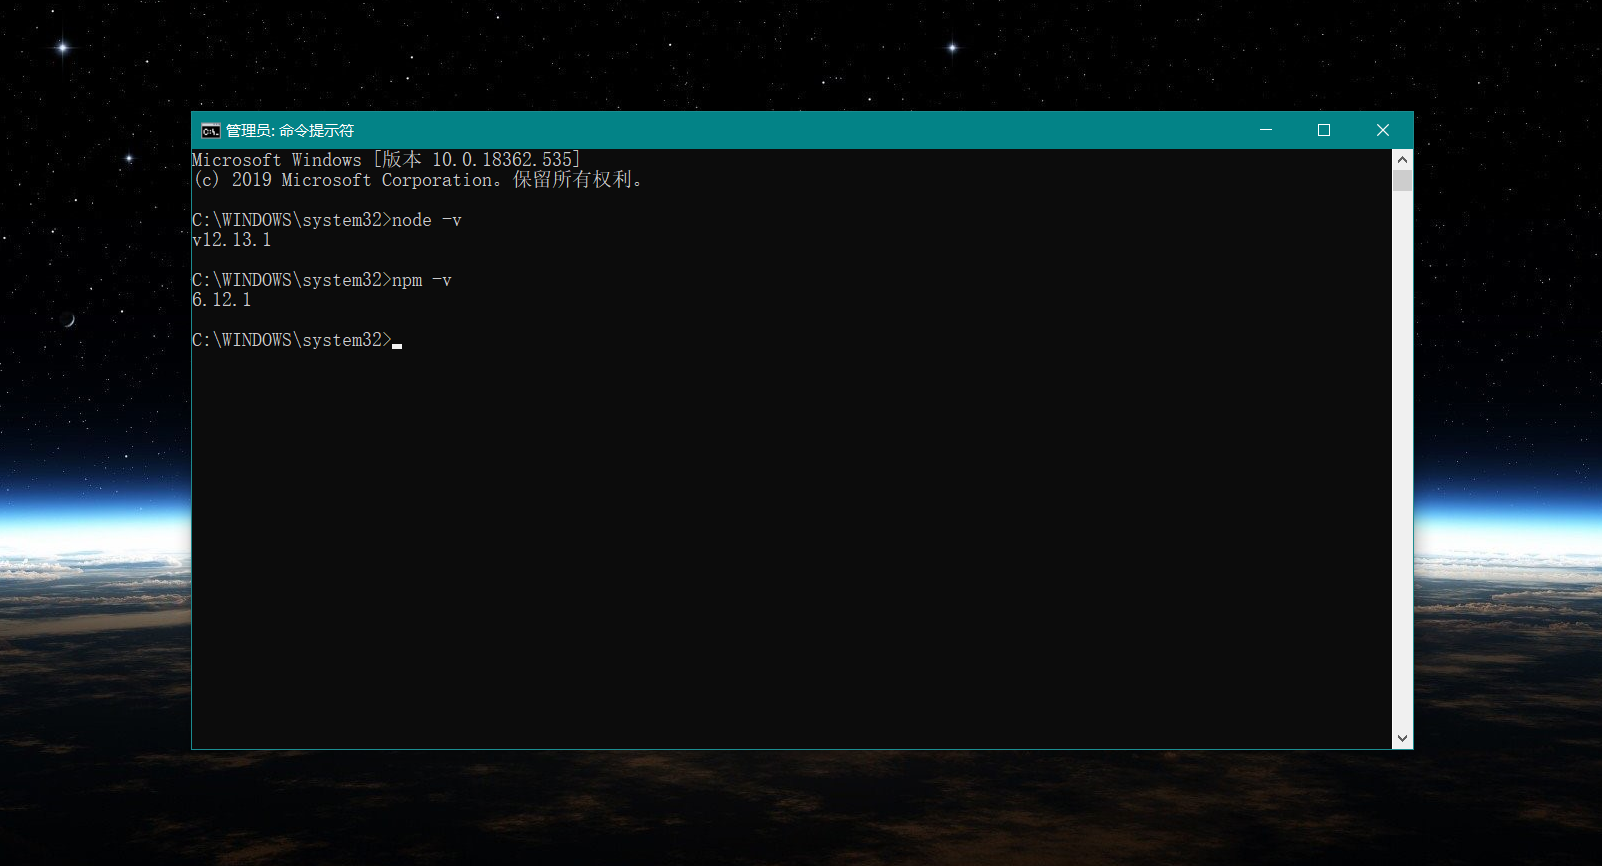
安装后 cmd 查看版本,如下图所示:
1 | //查看node版本 |
安装淘宝镜像
回到命令行下,把以下代码复制到命令行中即可安装淘宝镜像。
1 | npm install -g cnpm --registry=https://registry.npm.taobao.org |
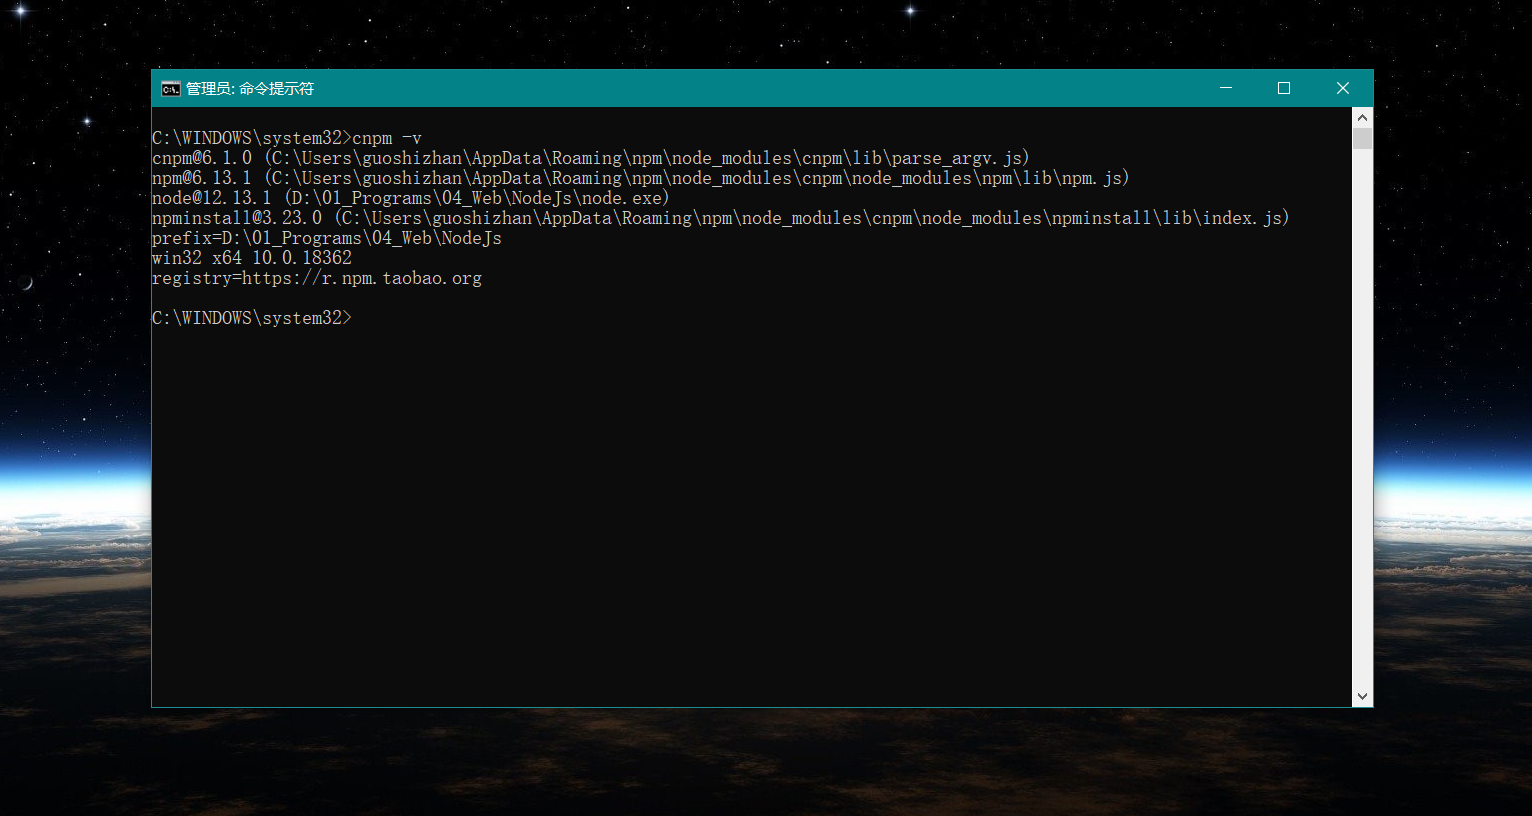
安装完成后,查看 cnpm 版本,截图如下:
1 | cnpm -v |
安装 hexo 并验证
安装 hexo 命令如下:
1 | cnpm install -g hexo-cli |
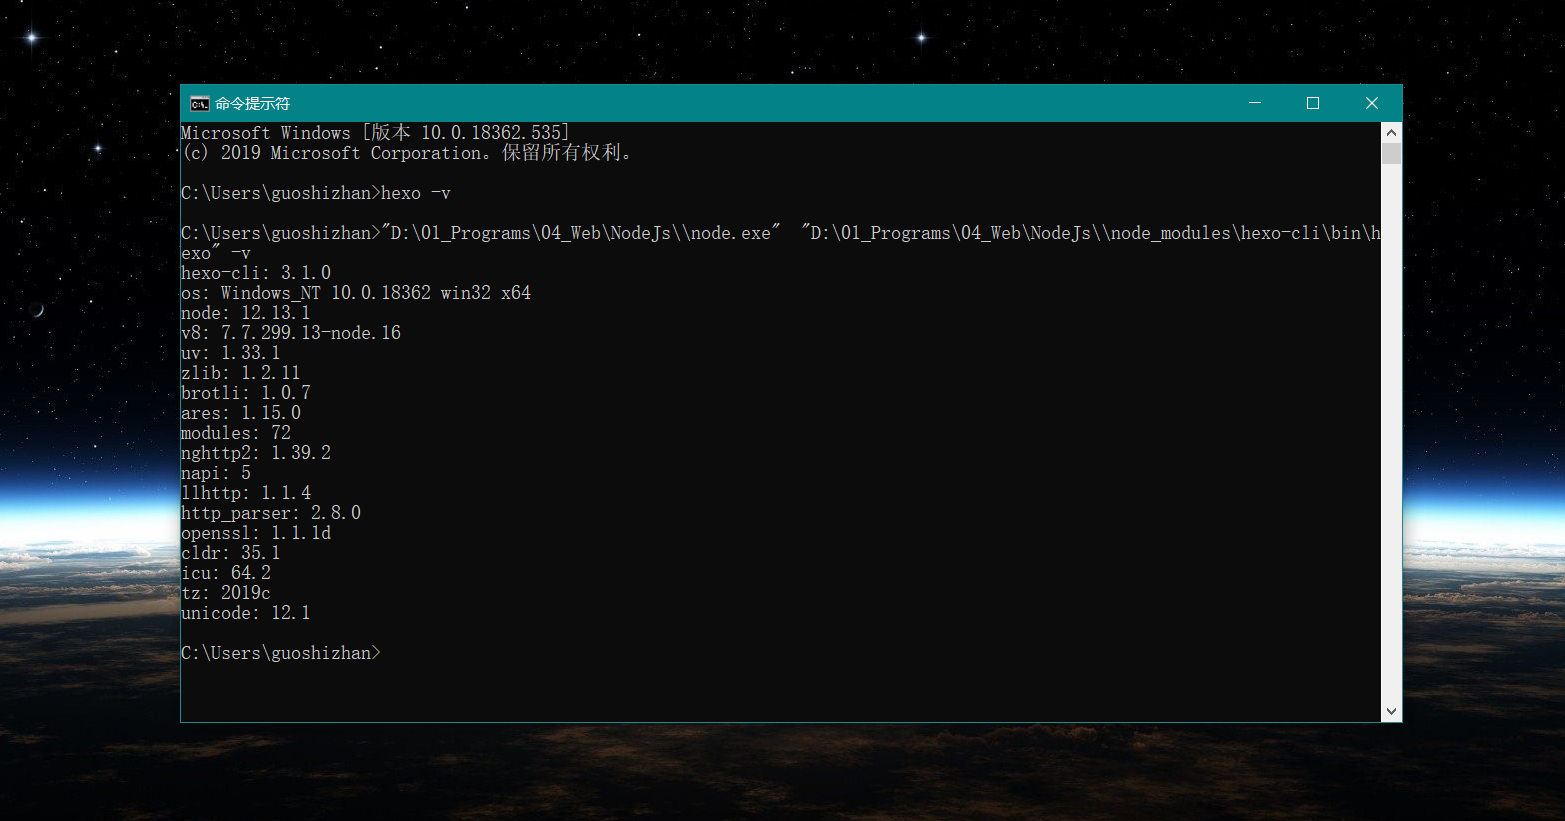
验证 hexo 是否安装成功,截图如下:
1 | hexo -v |
创建 Blog 目录
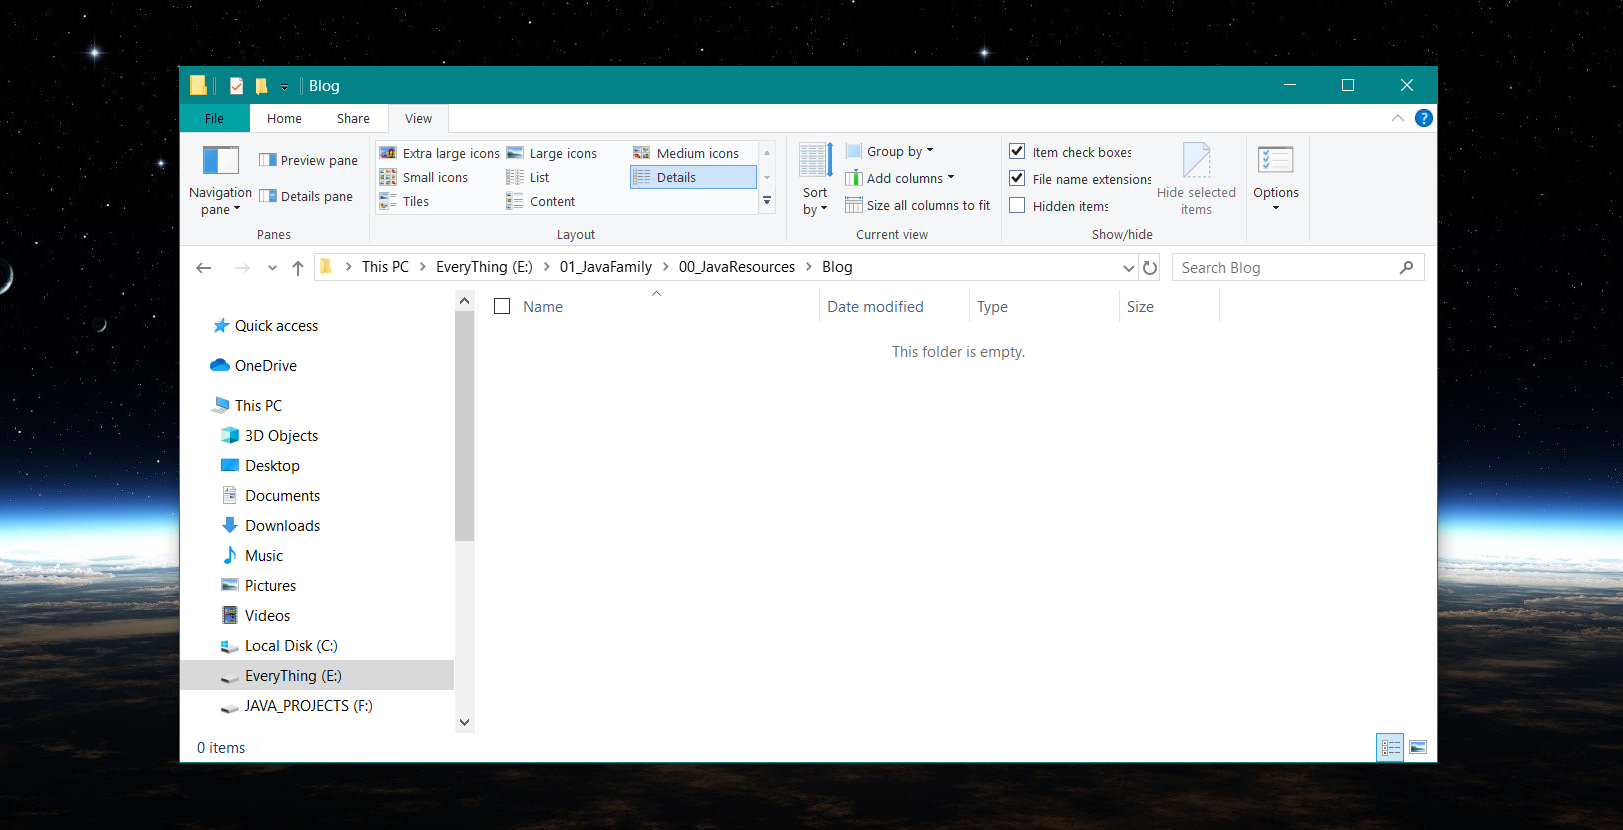
在自己的任何一个盘符上创建一个文件夹,名字随意,建议为 Blog,这个目录必须为空,不要安装或者添加其他的文件,否则会报错。在以后的操作中,都是基于这个目录操作的。如果其间出现问题,都可以把这个目录下的所有文件删除掉,再重新来过。至此,第一阶段结束。以下是我的 Blog 目录演示:
到此为止,博客的环境搭建就完成了。接下来请阅读:第二阶段:Blog 的初始化和 Git 部署。
第二阶段:初始化和 Git 部署
Git 的下载安装
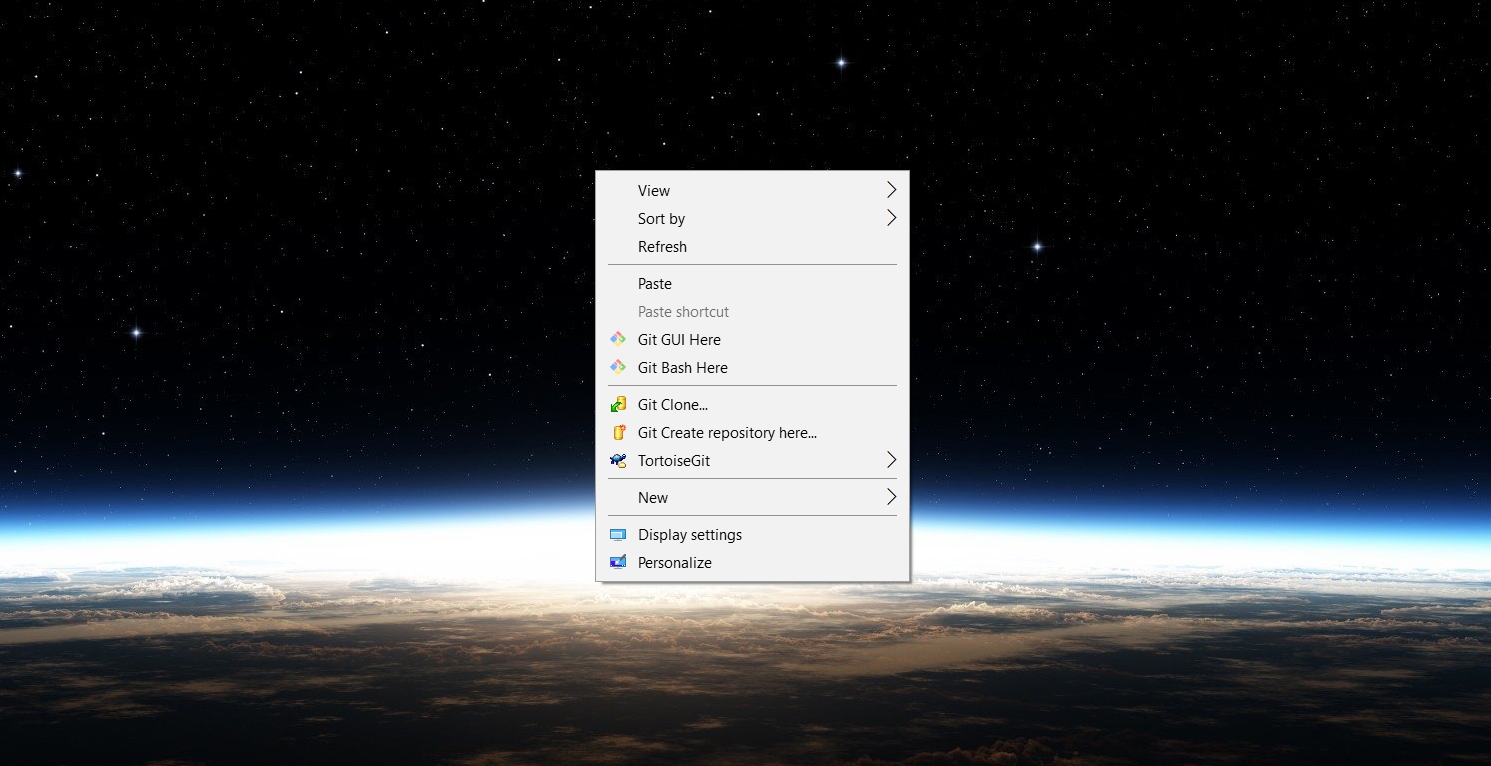
访问官网:www.git-scm.com/download/ 选择相应操作系统下载安装即可。安装完成之后,点击鼠标右键会出现 Git GUI Here 和 Git Bash Here,如下图所示:
打开 Git 窗口
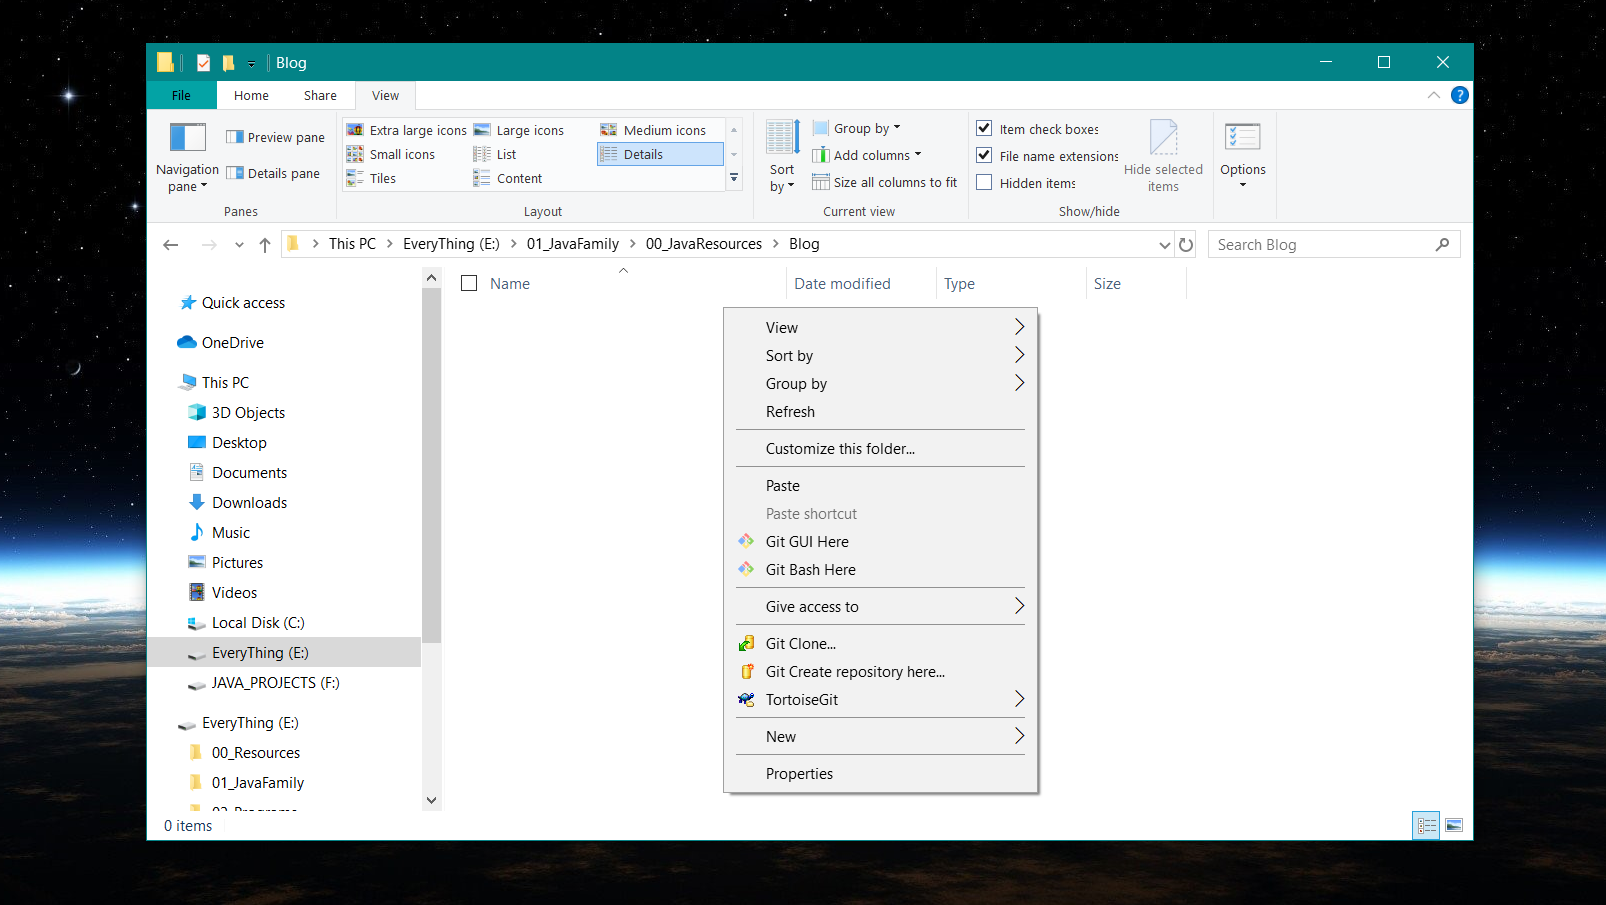
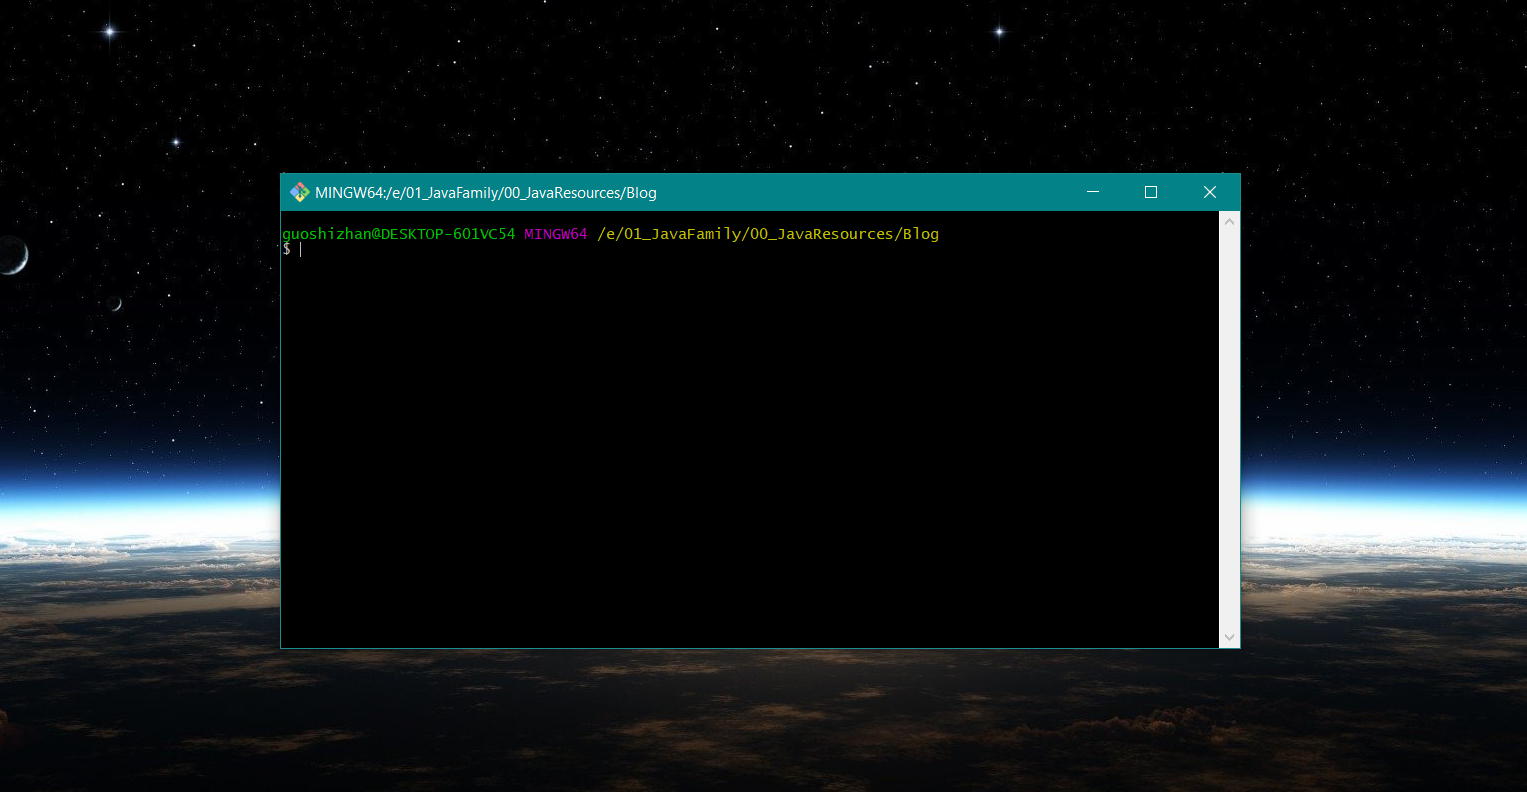
进入到 Blog 目录,点击鼠标右键,选择 Git Bash Here,如下图所示:
初始化博客
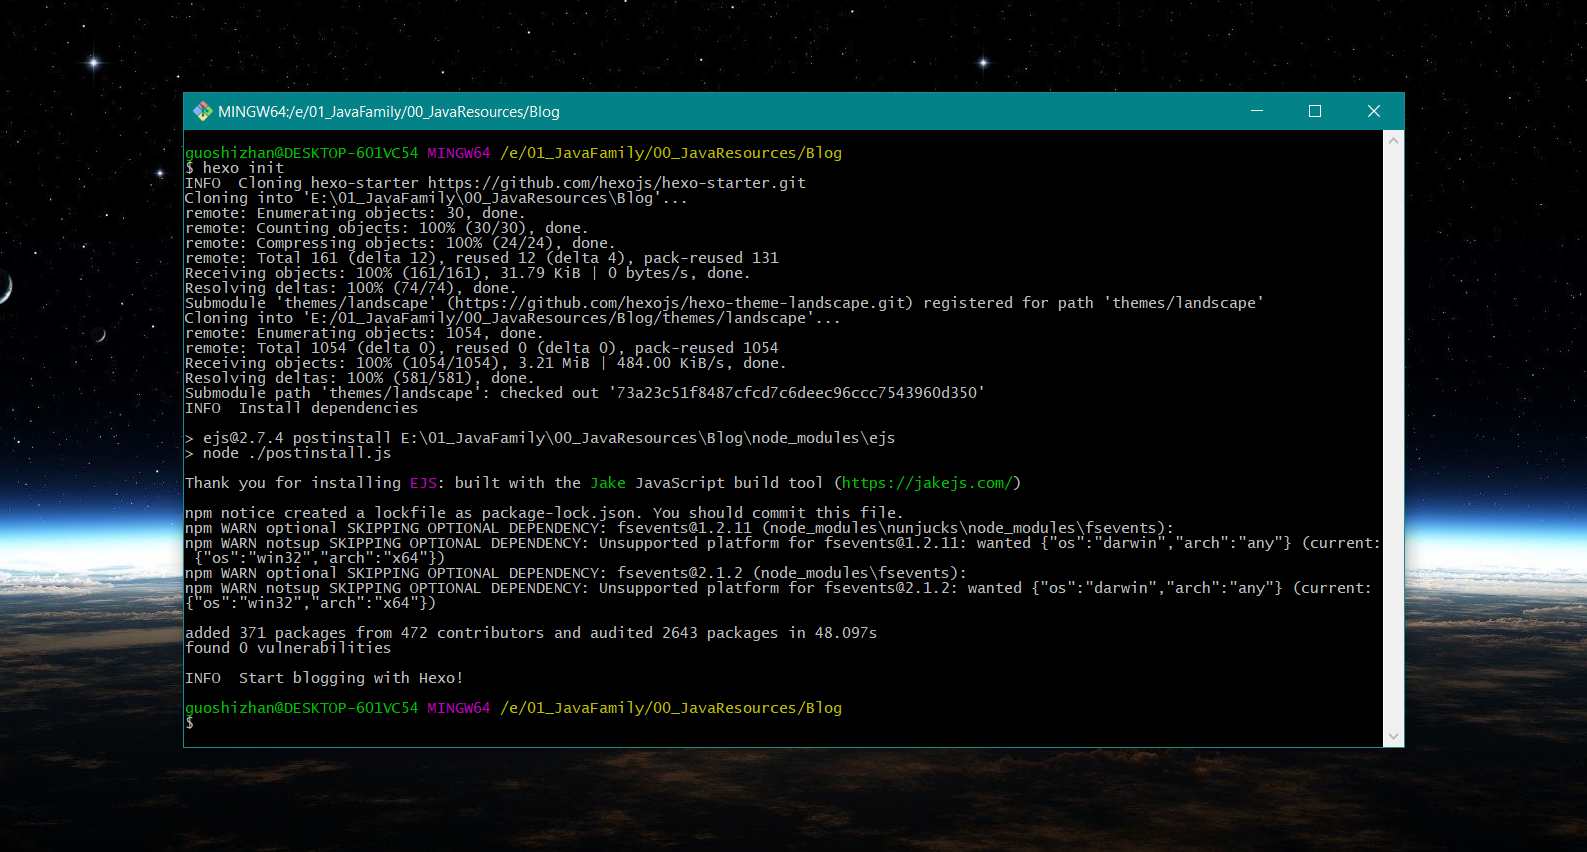
初始化命令如下:
1 | # 初始化命令 |
初始化完成之后截图如下:
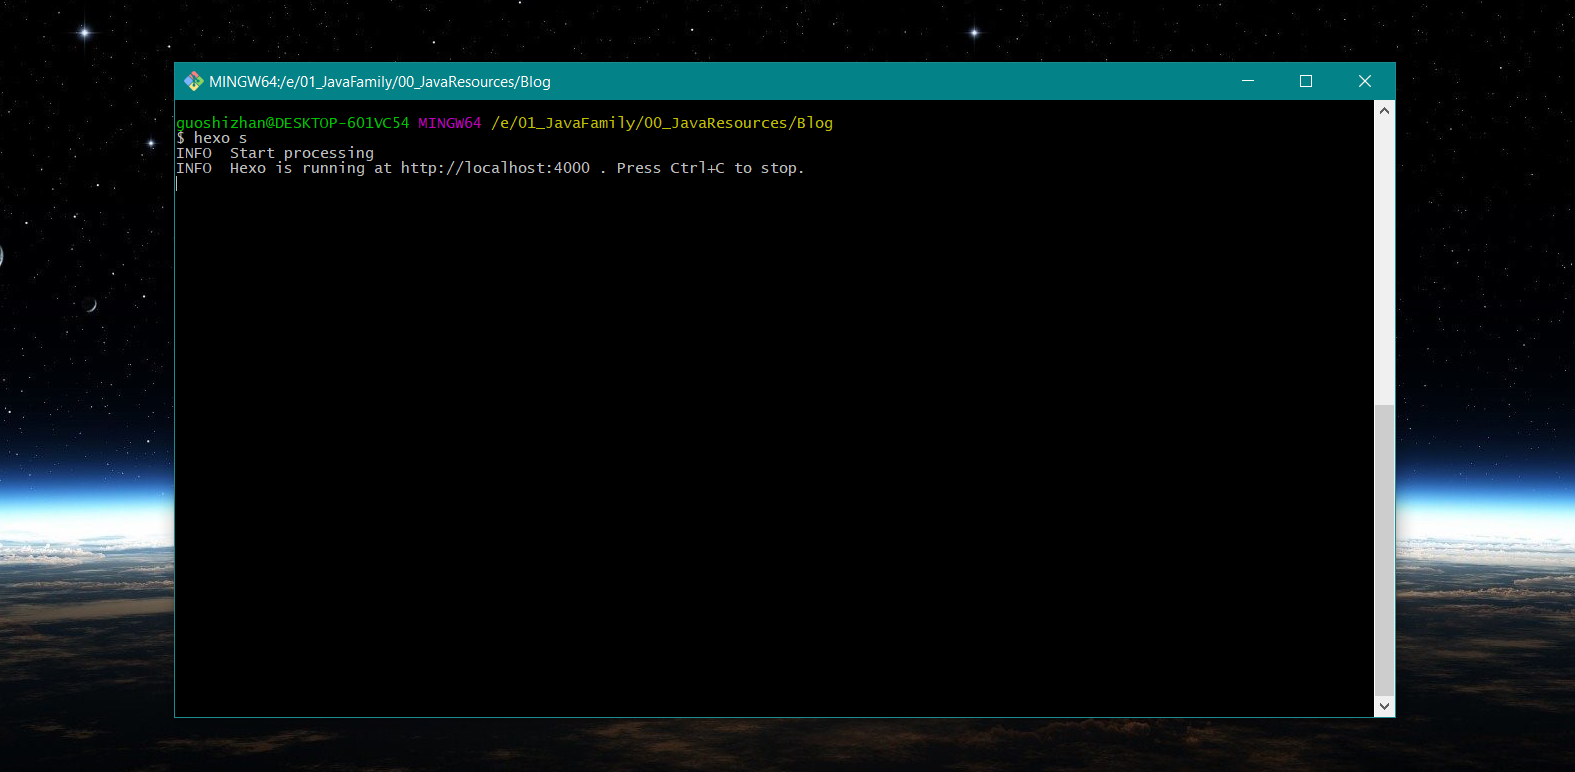
启动博客
初始化完成之后就可以启动博客了,启动命令为 “hexo s” ,默认访问地址是:localhost:4000/,如下图所示:
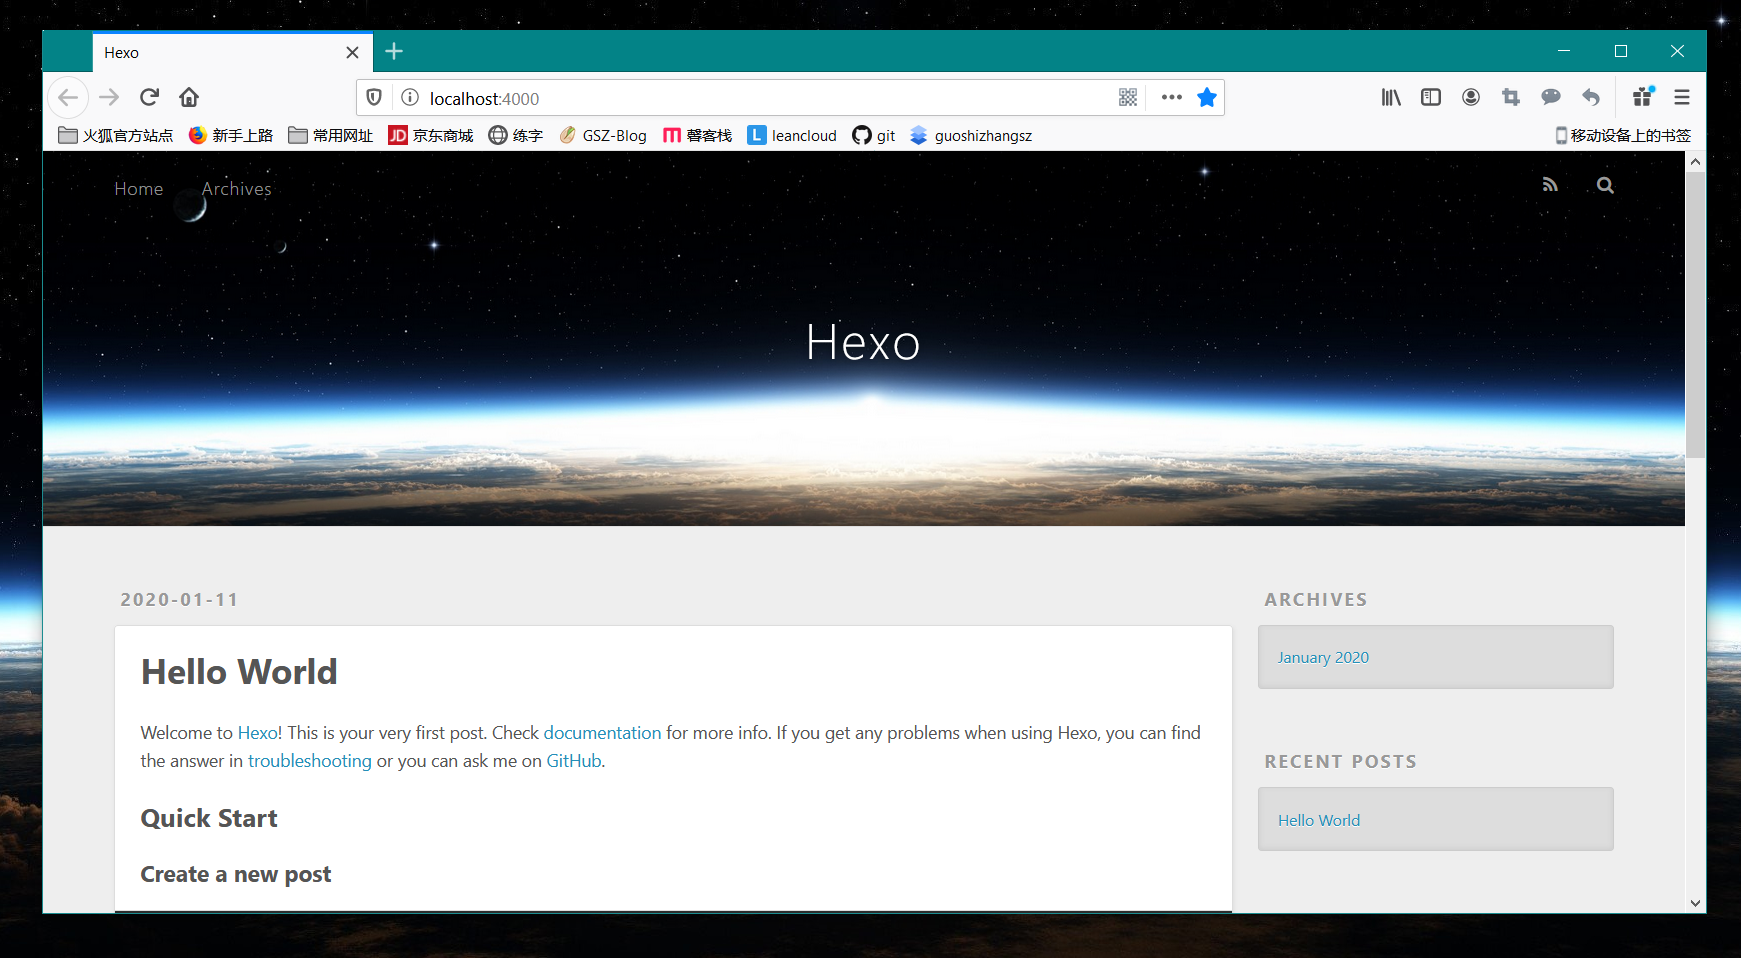
以下是博客的默认主题 landscape,界面如下:
Github 注册
登录 Github 官网,点击右上角 Sign up,然后出现如下注册界面:
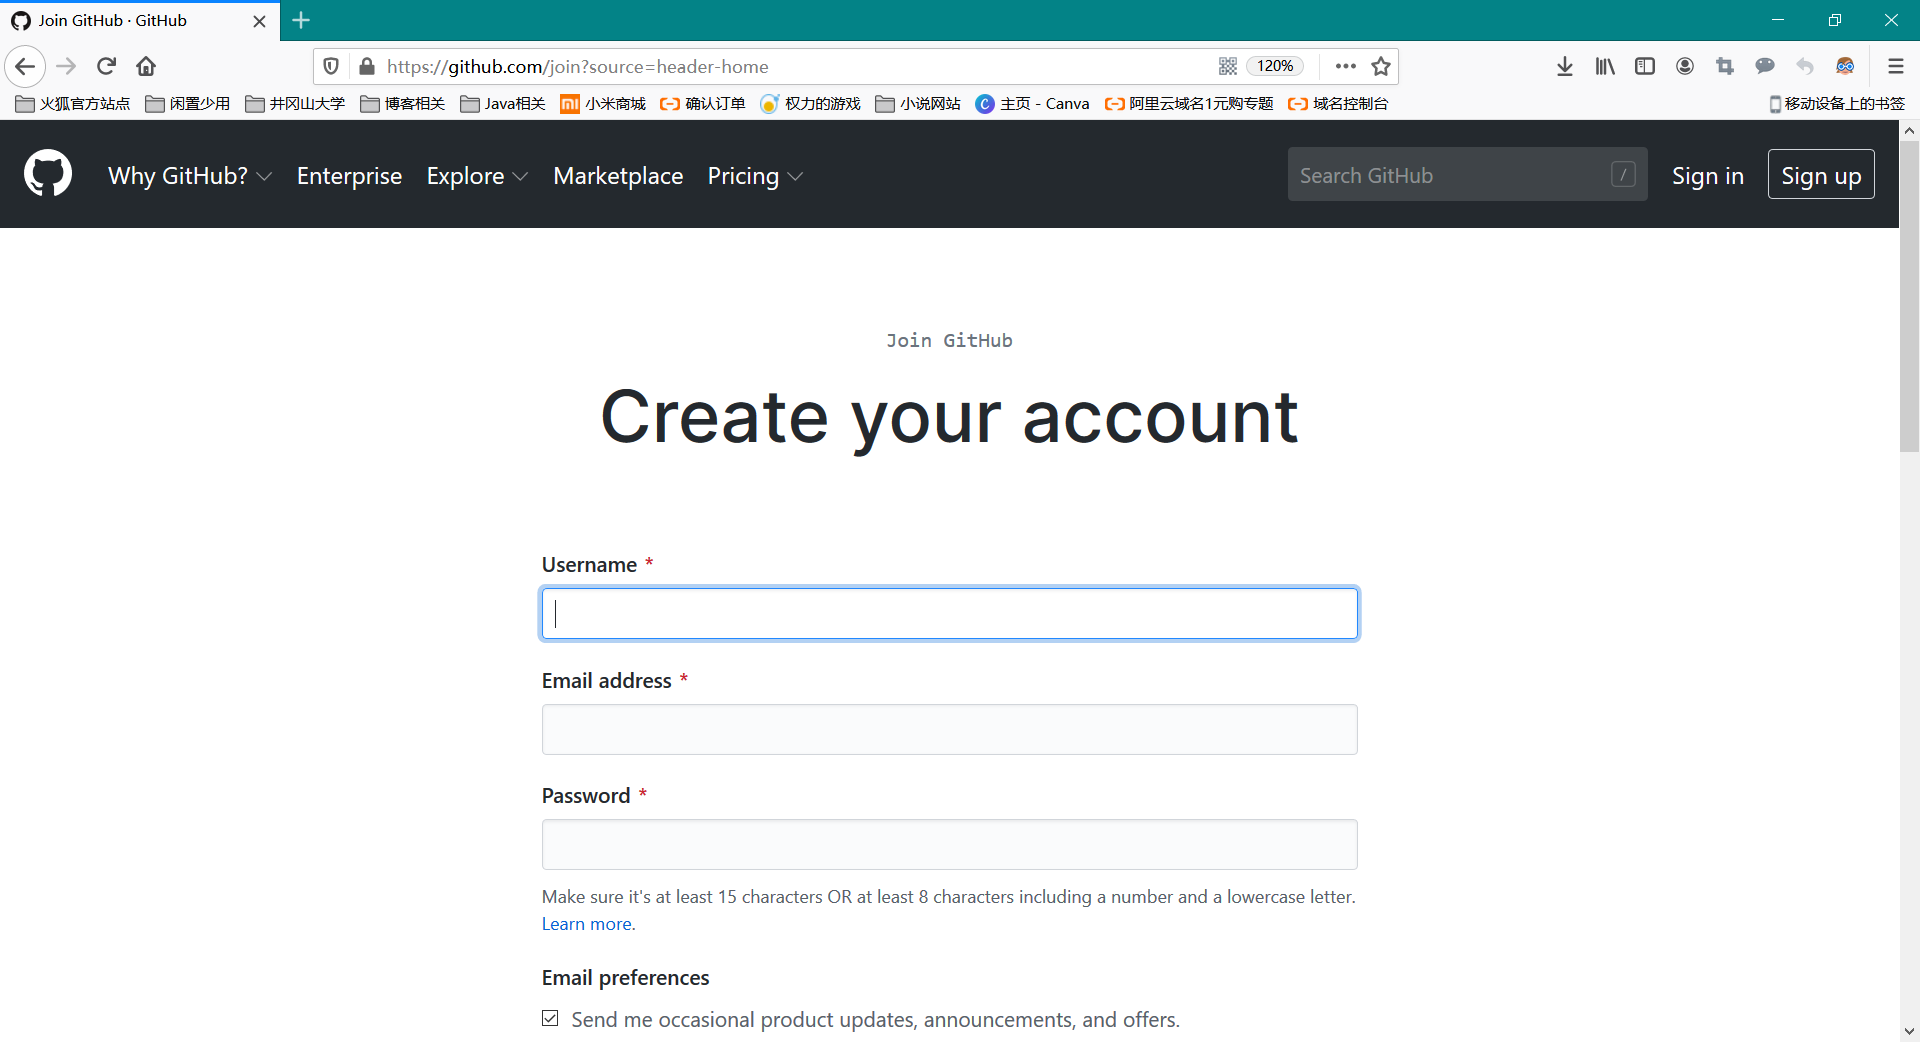
填写完用户名、邮箱和密码之后,然后验证,再点击蓝色的创建按钮即可,如下图:
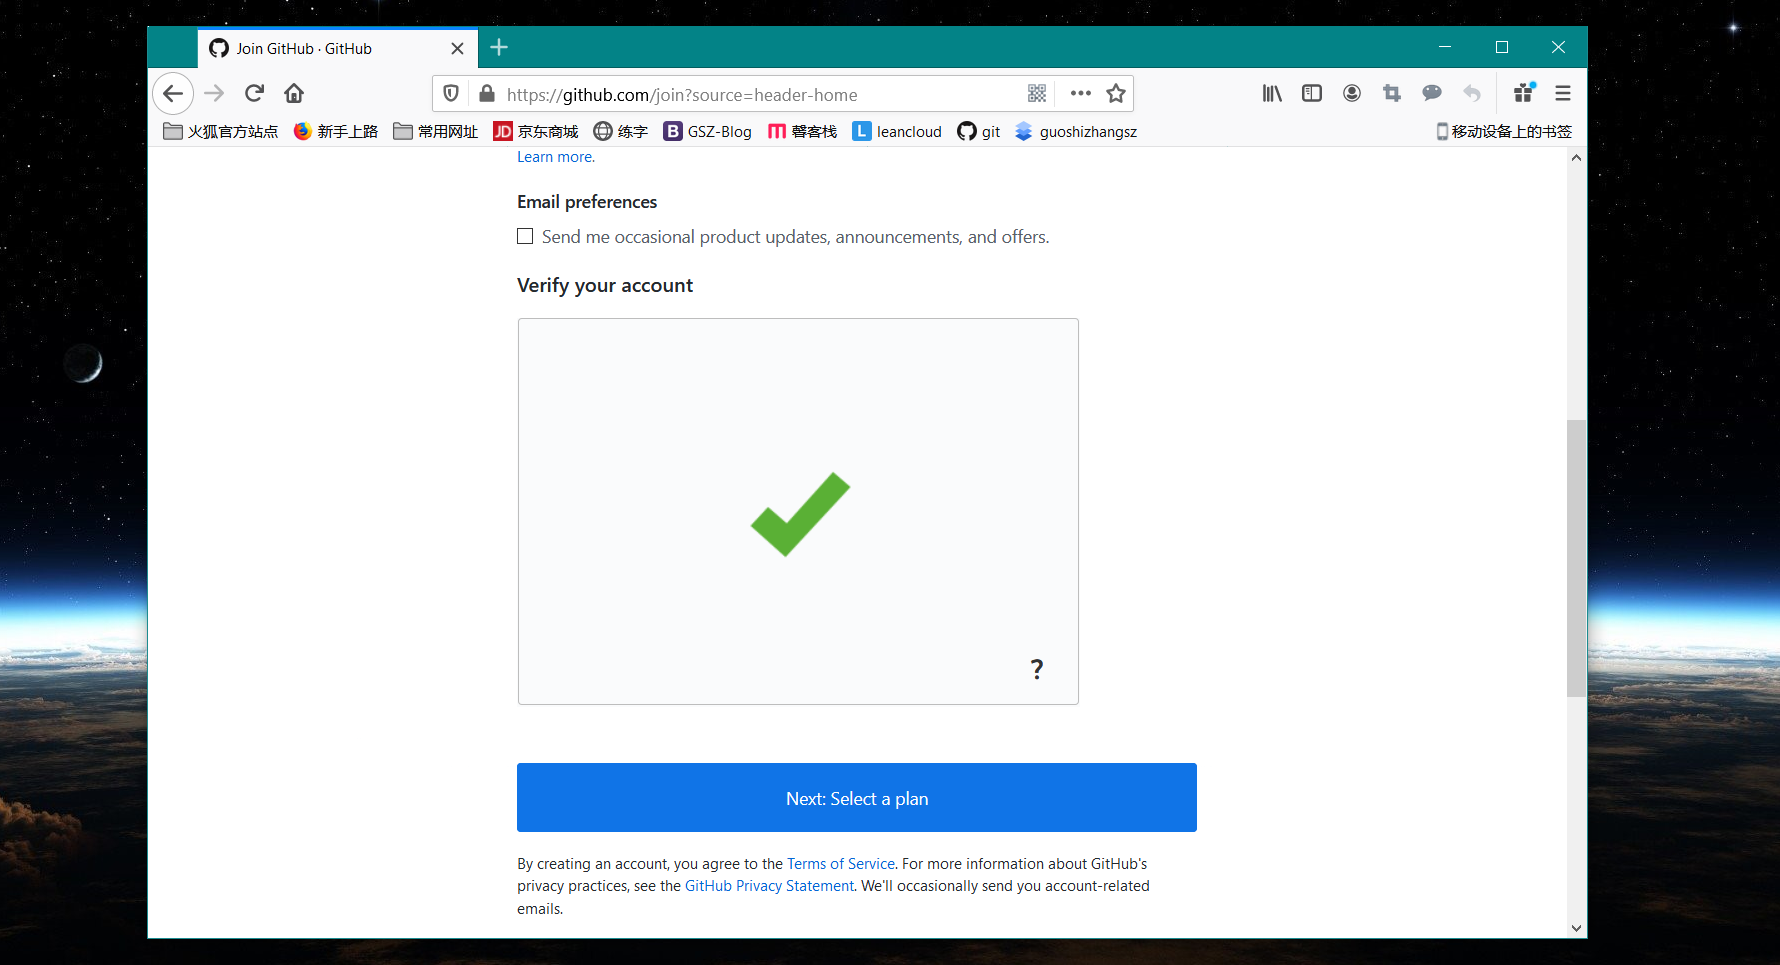
注册完成后,下图选择左边的 0 元
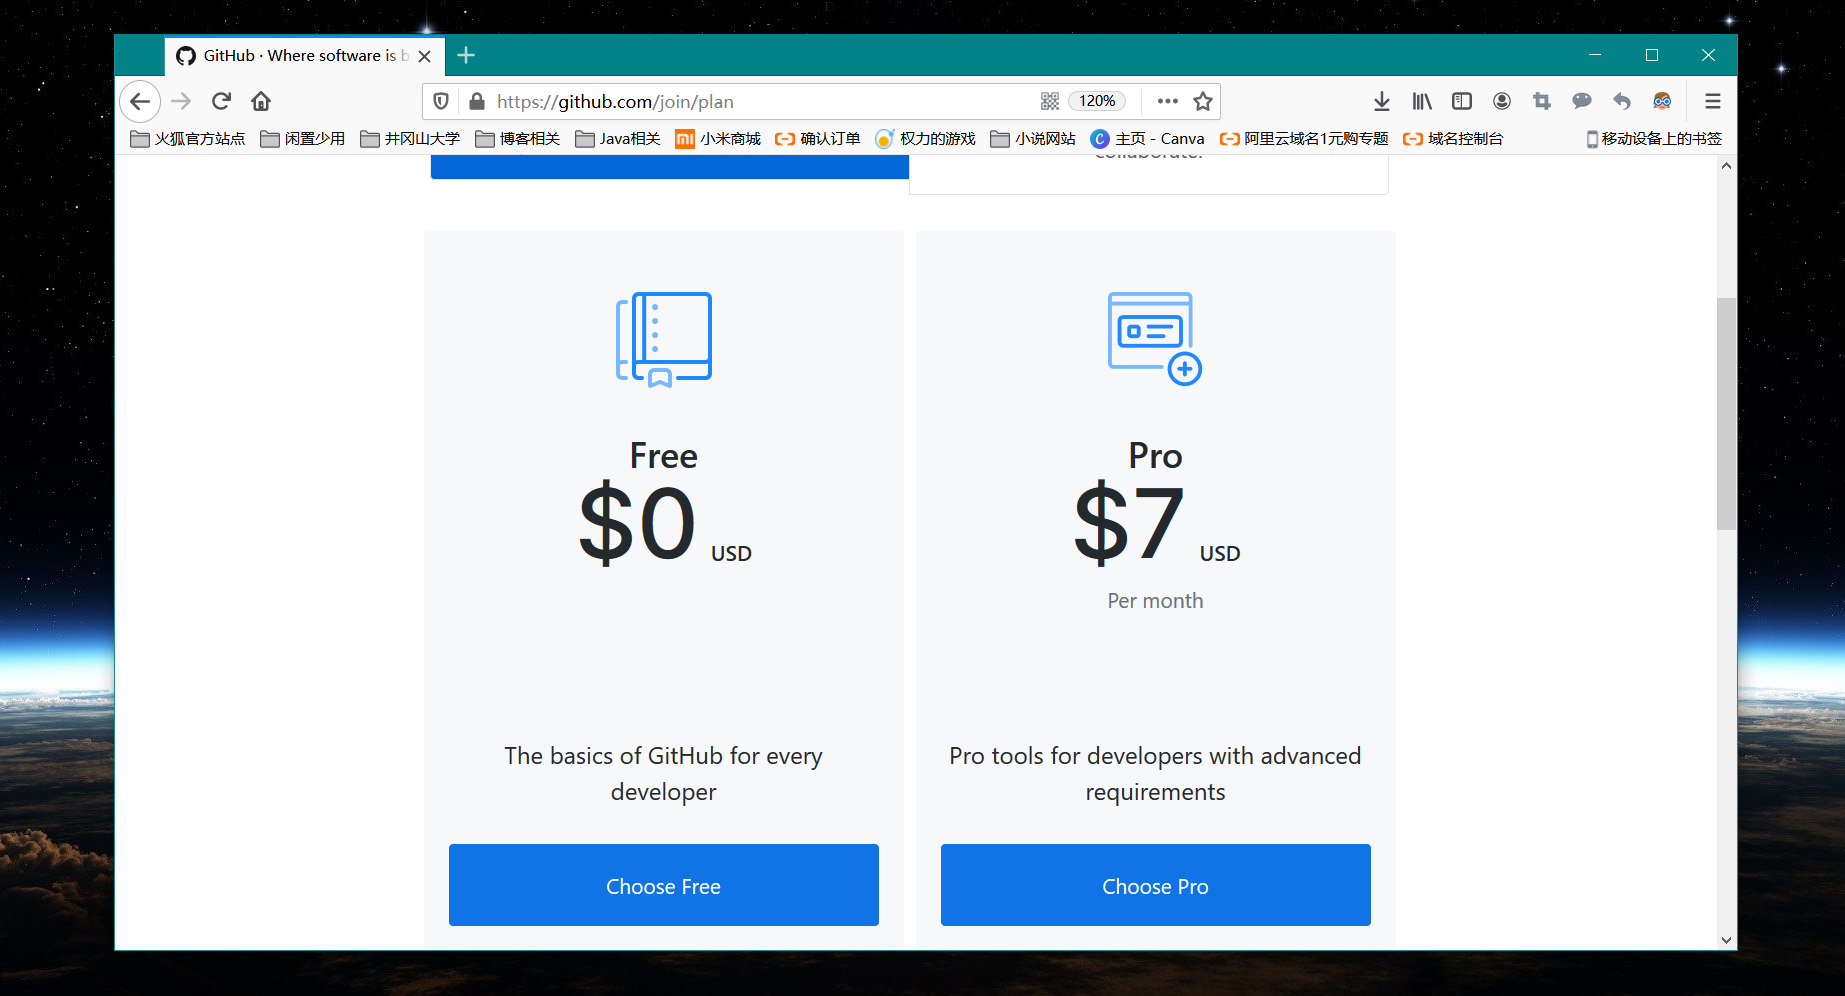
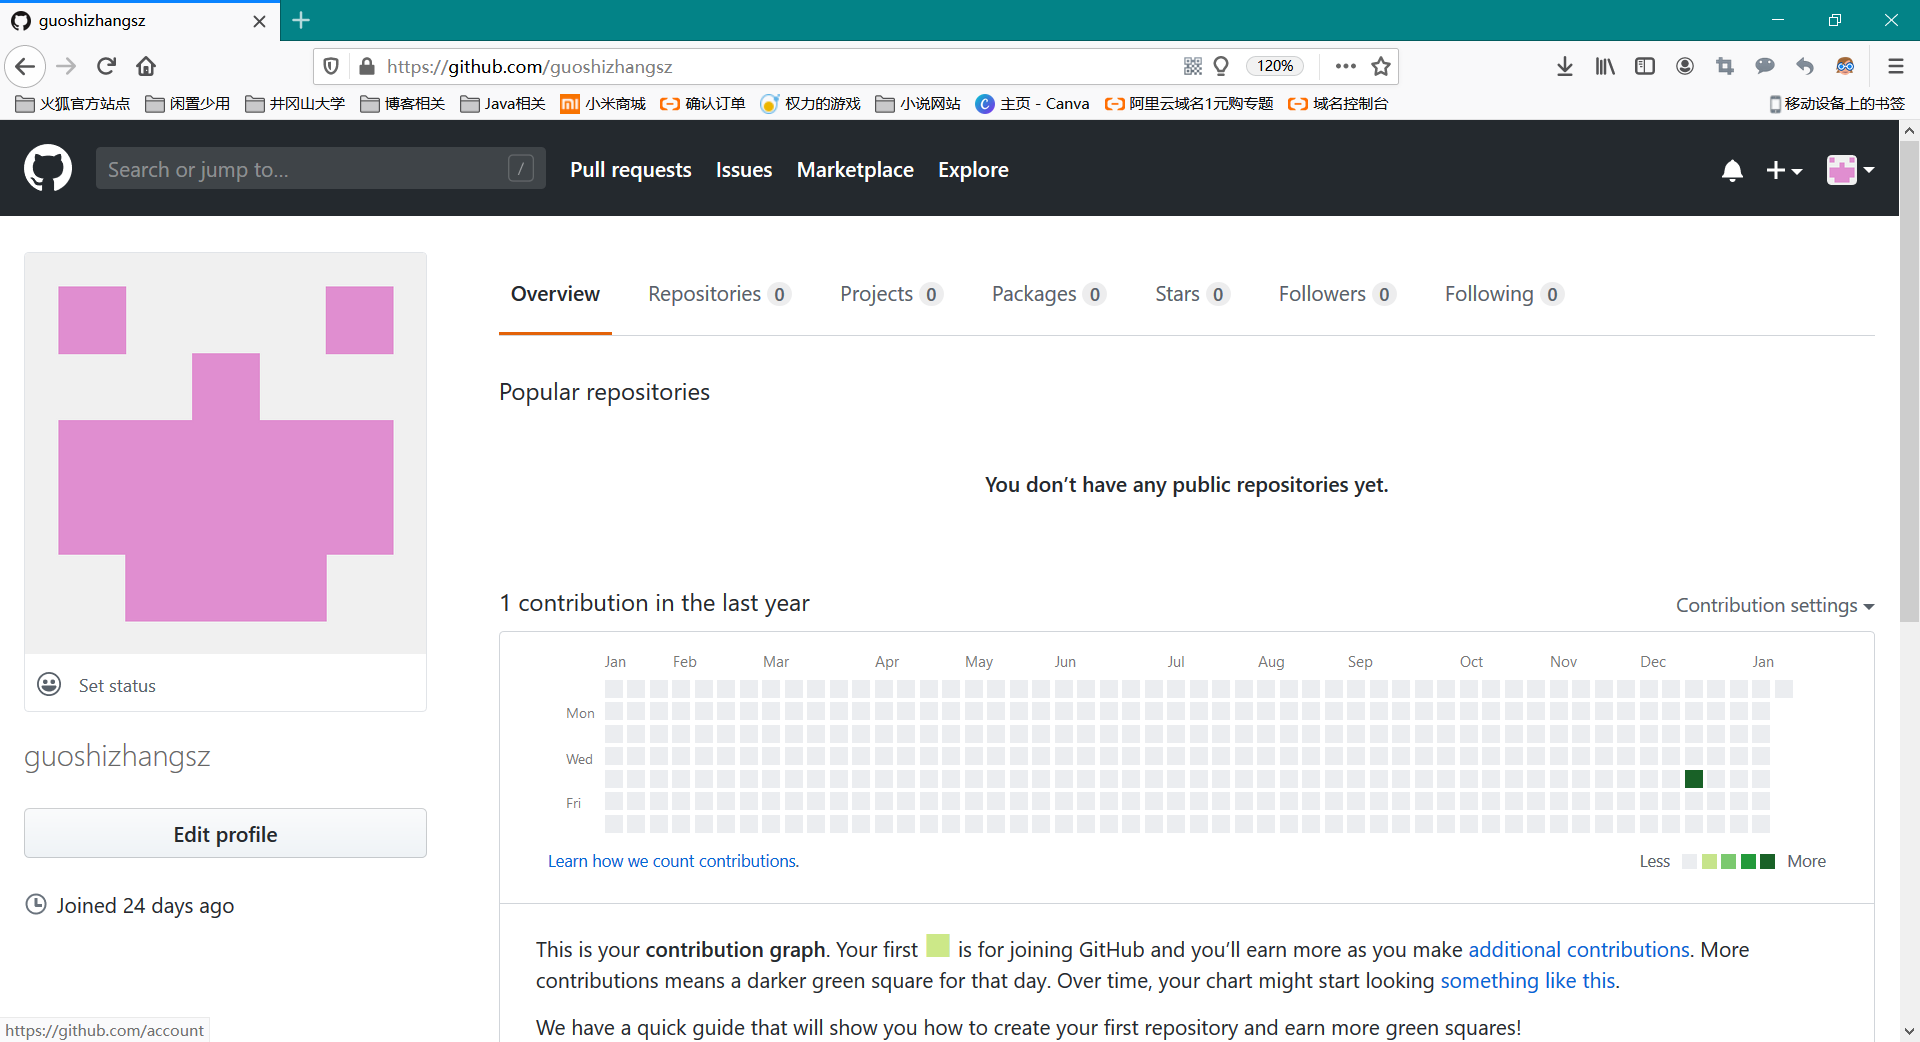
后面有一些题目,跳过即可,然后你的邮箱会收到 GitHub 的验证消息,然后验证,你就有了Github 账号。示例如下:
创建 Github 仓库
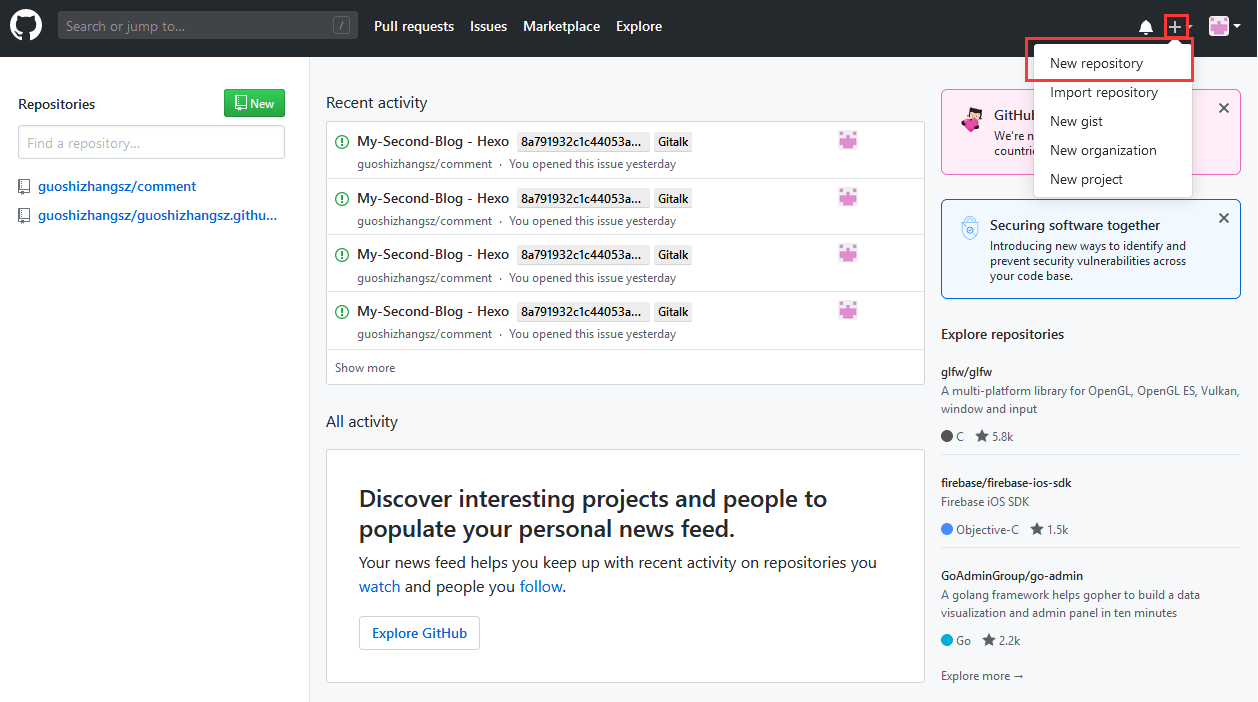
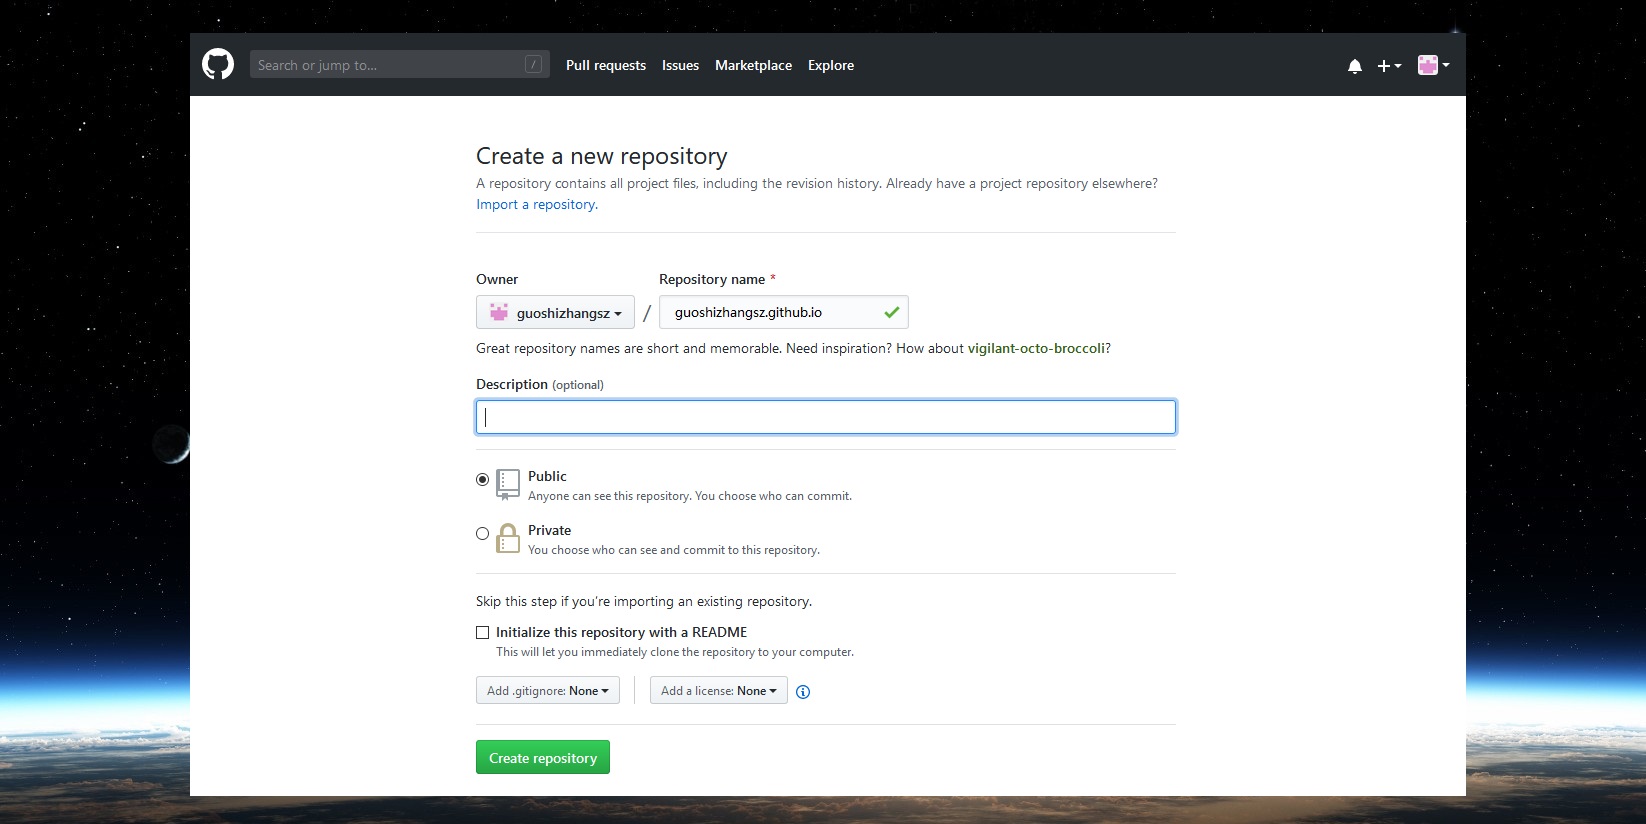
新建一个 GitHub 仓库,点击右上角“+”号,然后 New repository,如下图:
非常非常重要的一点,仓库的名字是固定的。格式必须为:GitHub昵称.github.io,填完仓库名点击绿色按钮即可,示例如下:
安装 GitHub 部署插件
这一步要先进入到 Blog 目录下,然后点击鼠标右键 Git Bash Here,然后使用以下命令安装插件:
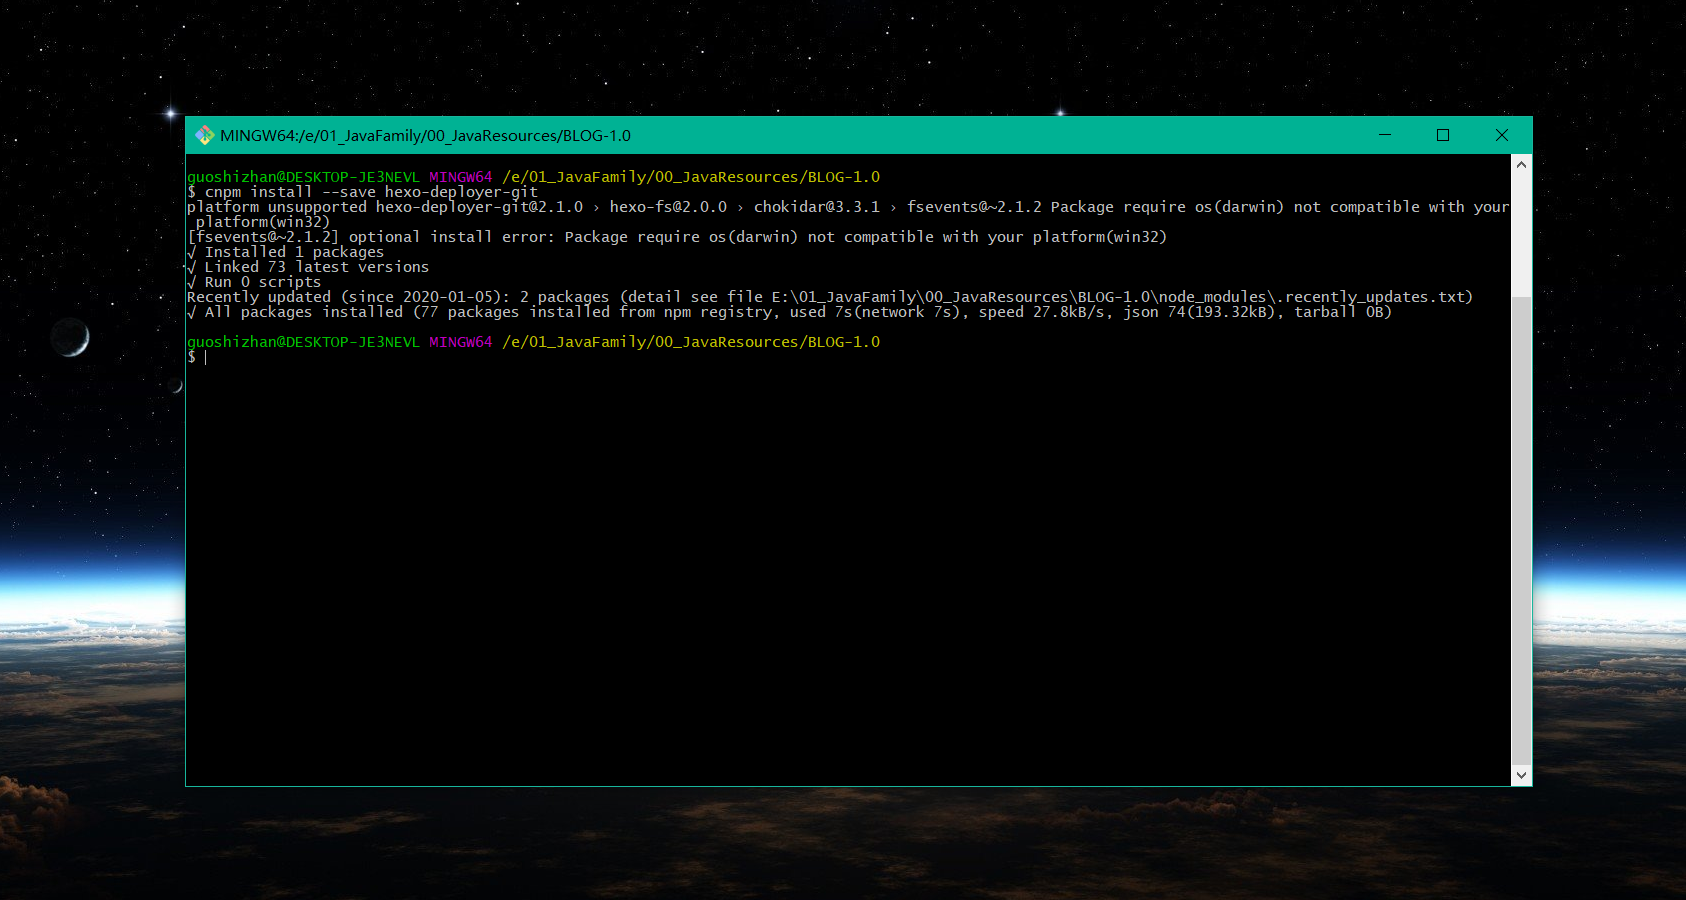
1 | cnpm install --save hexo-deployer-git |
完成之后如下图所示:
配置关键信息,使用 notepad++ 打开 Blog 目录下的 _config.yml 配置文件,按以下配置进行修改:
1 | # Deployment |
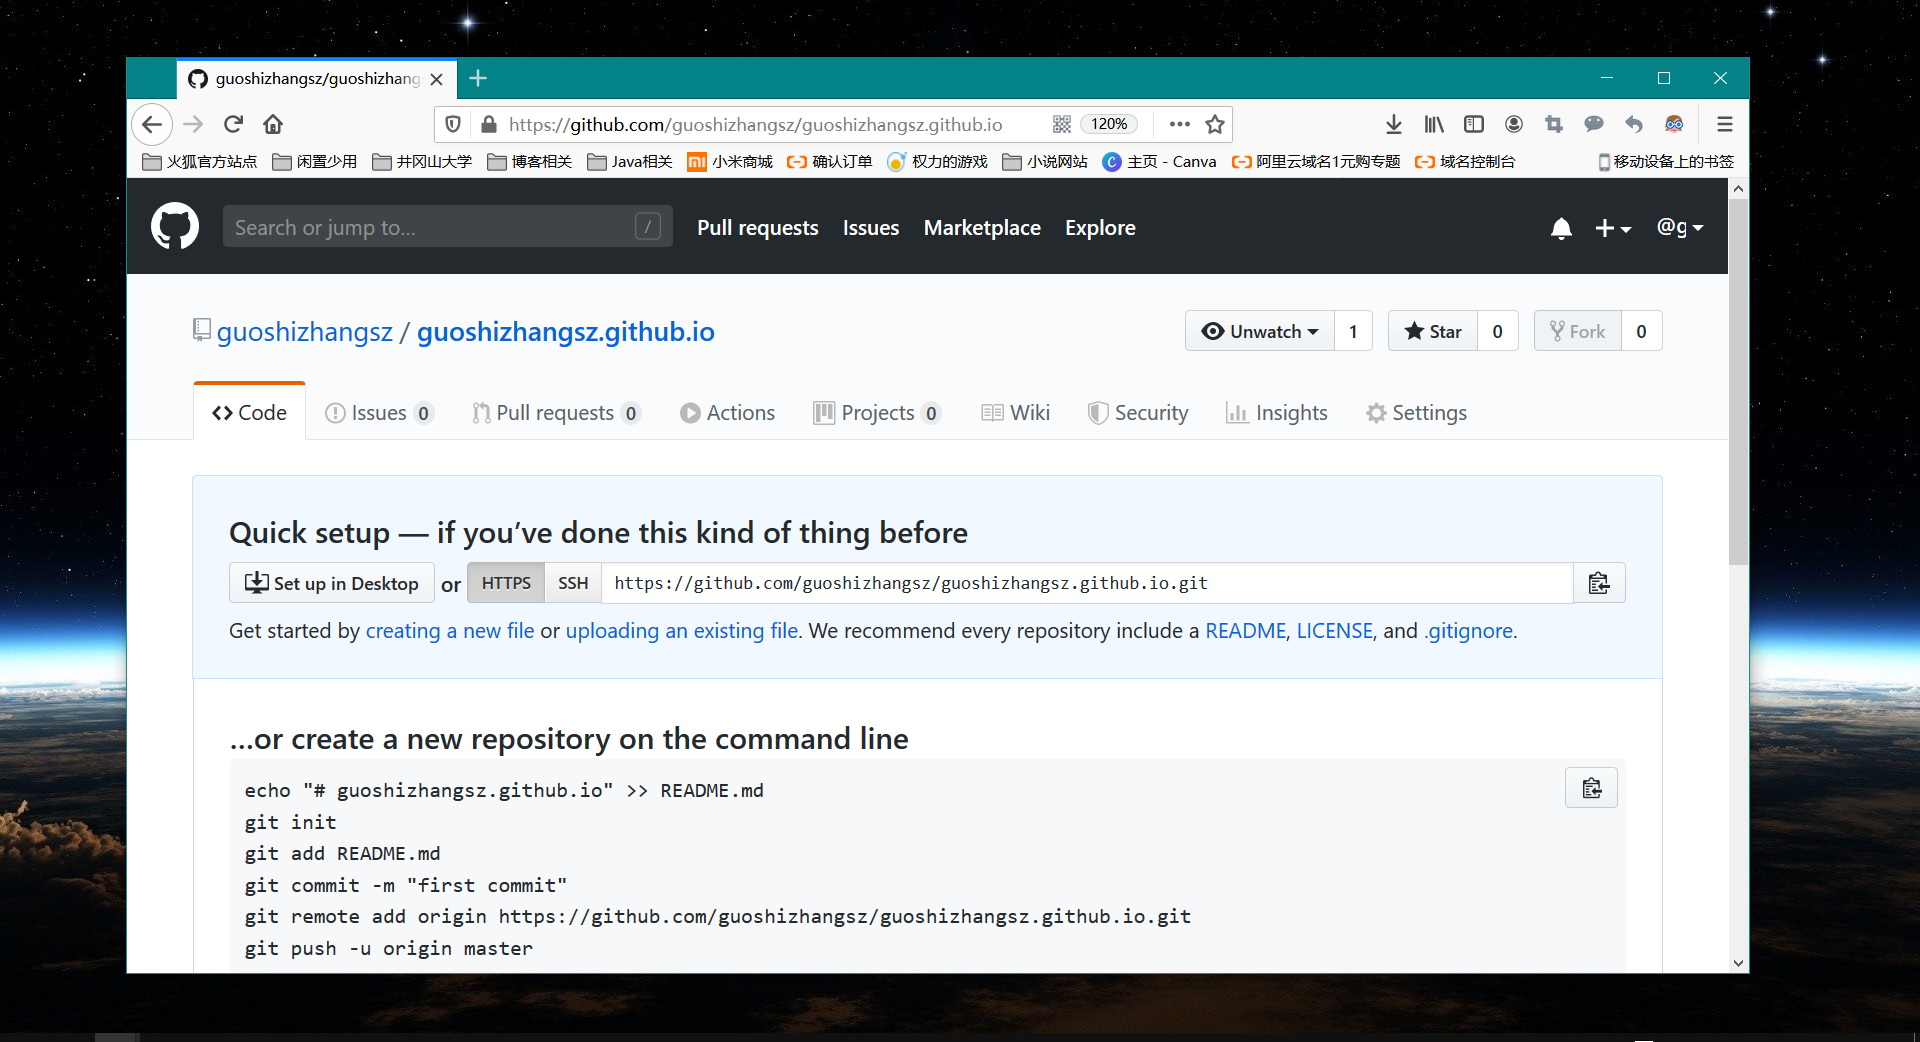
上面的 repo 地址就是你的 GitHub 仓库的地址,打开 GitHub,进入到你的博客仓库,选择 HTTPS,如下图所示:
修改完成之后,保存即可。
把博客部署到 GitHub
此时确保在 Blog 目录下,然后使用以下命令:
1 | hexo d |
【期间可能遇到填写邮箱和用户名或者密码等问题】此时要输入 GitHub 账号,如下图所示;
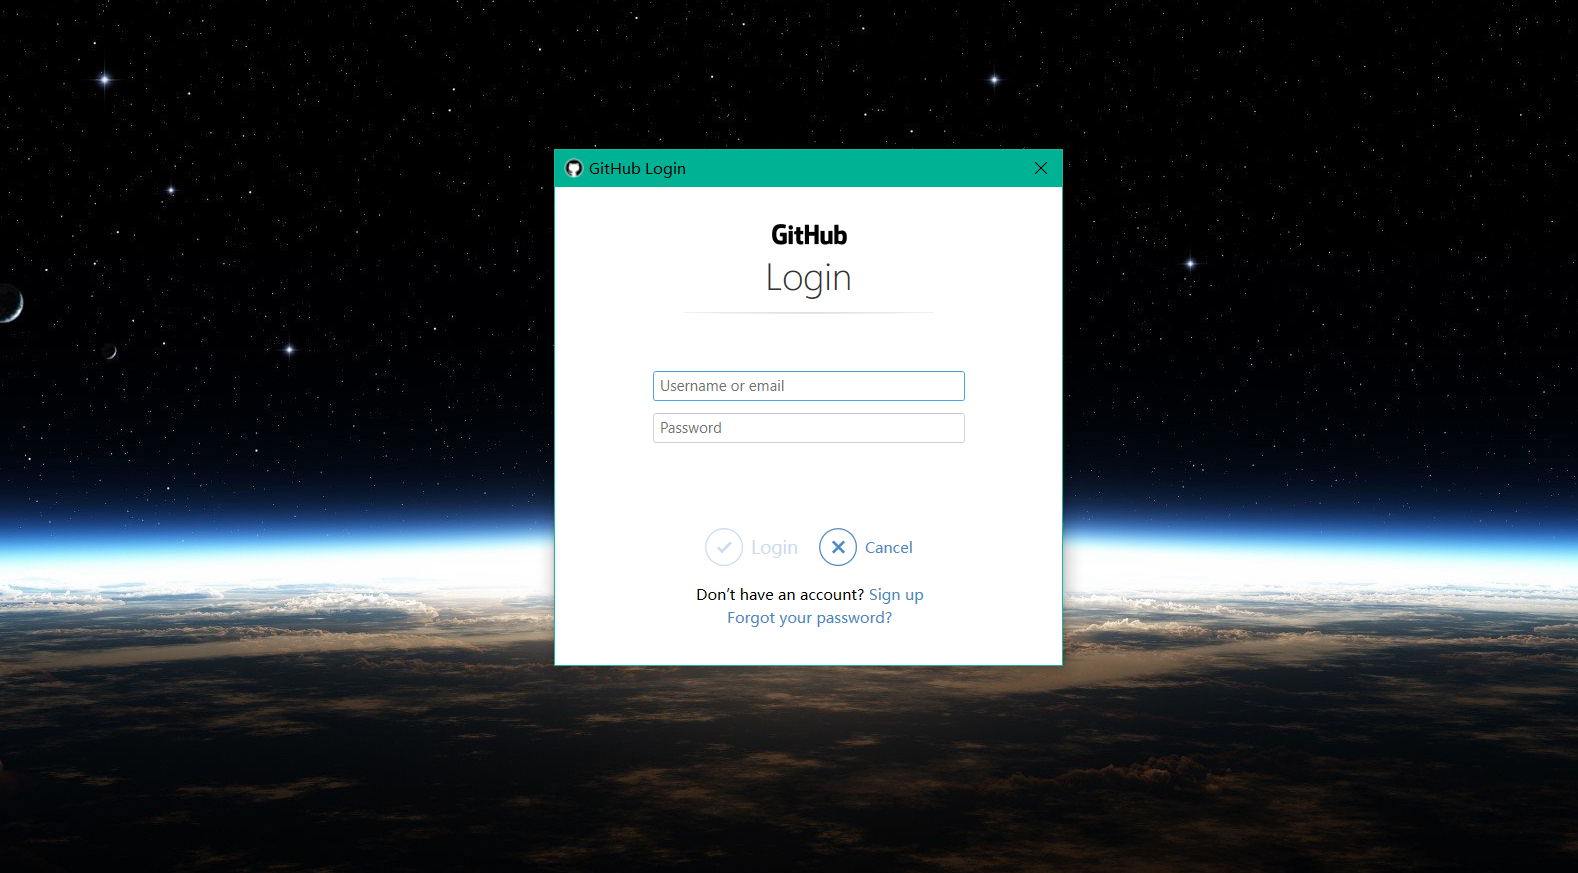
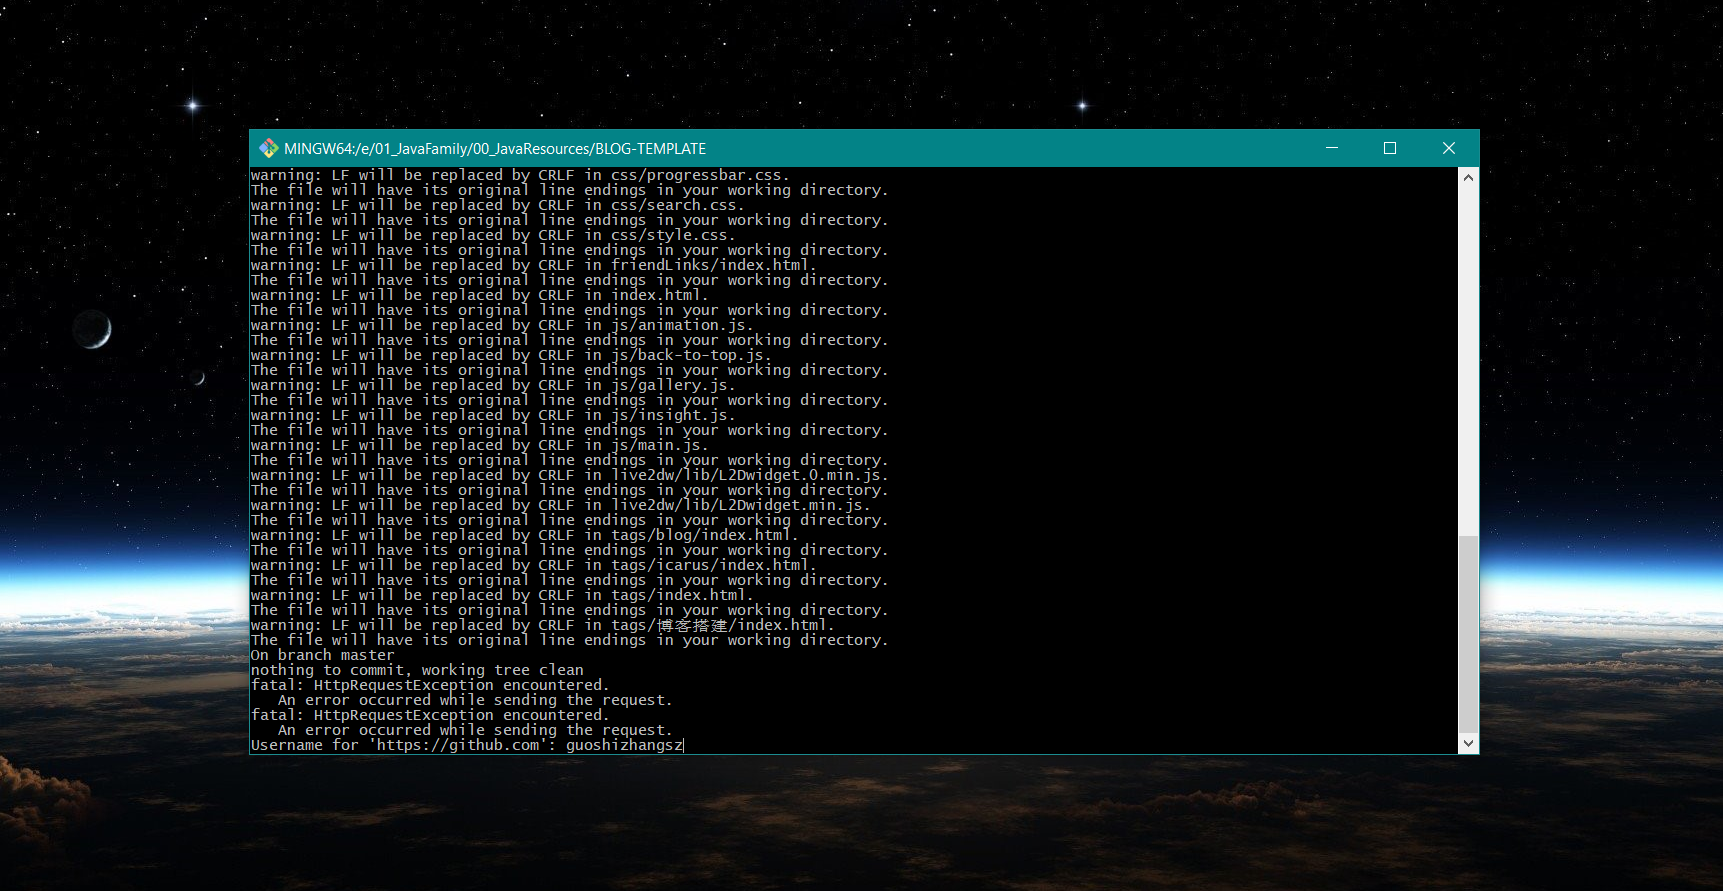
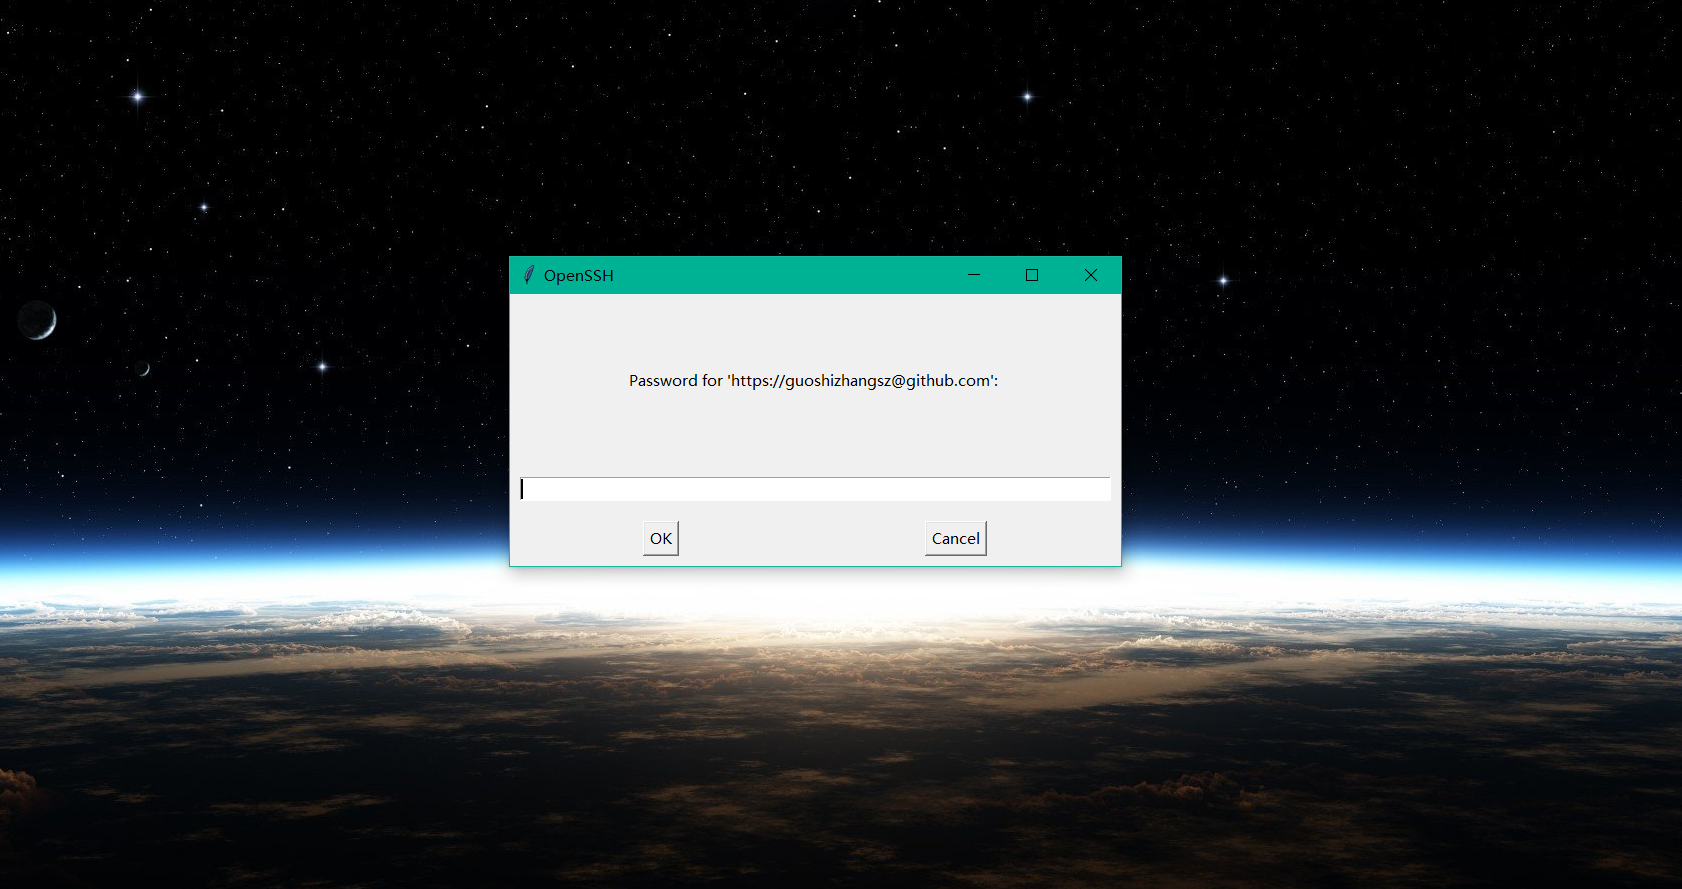
然后输入 GitHub 密码:如下图所示:
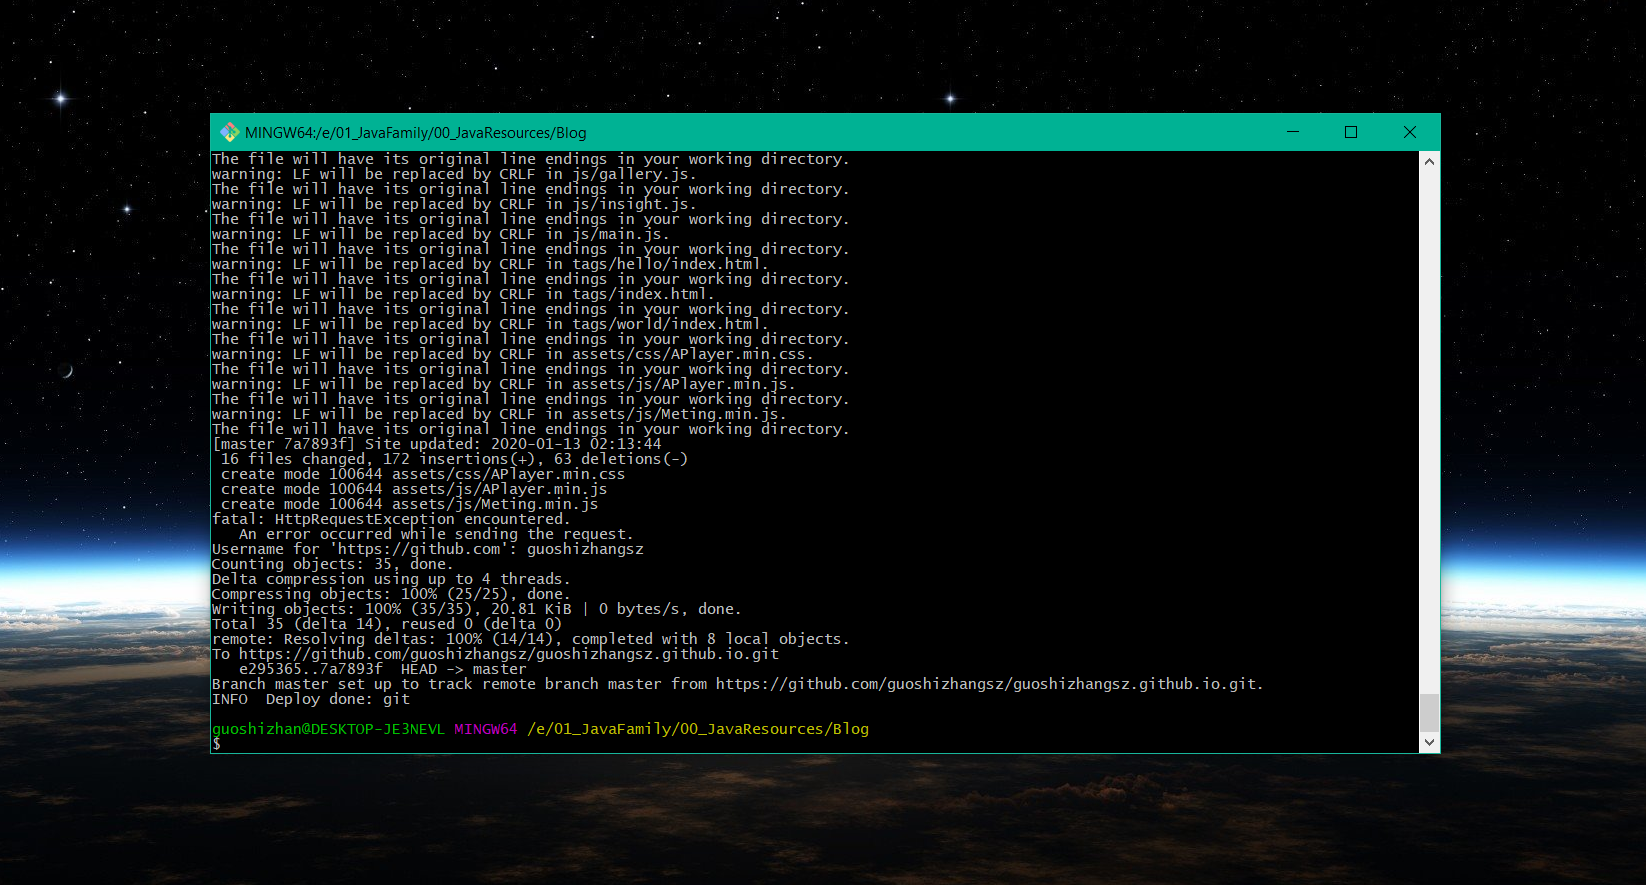
部署到 GitHub 成功的标志,如下图:
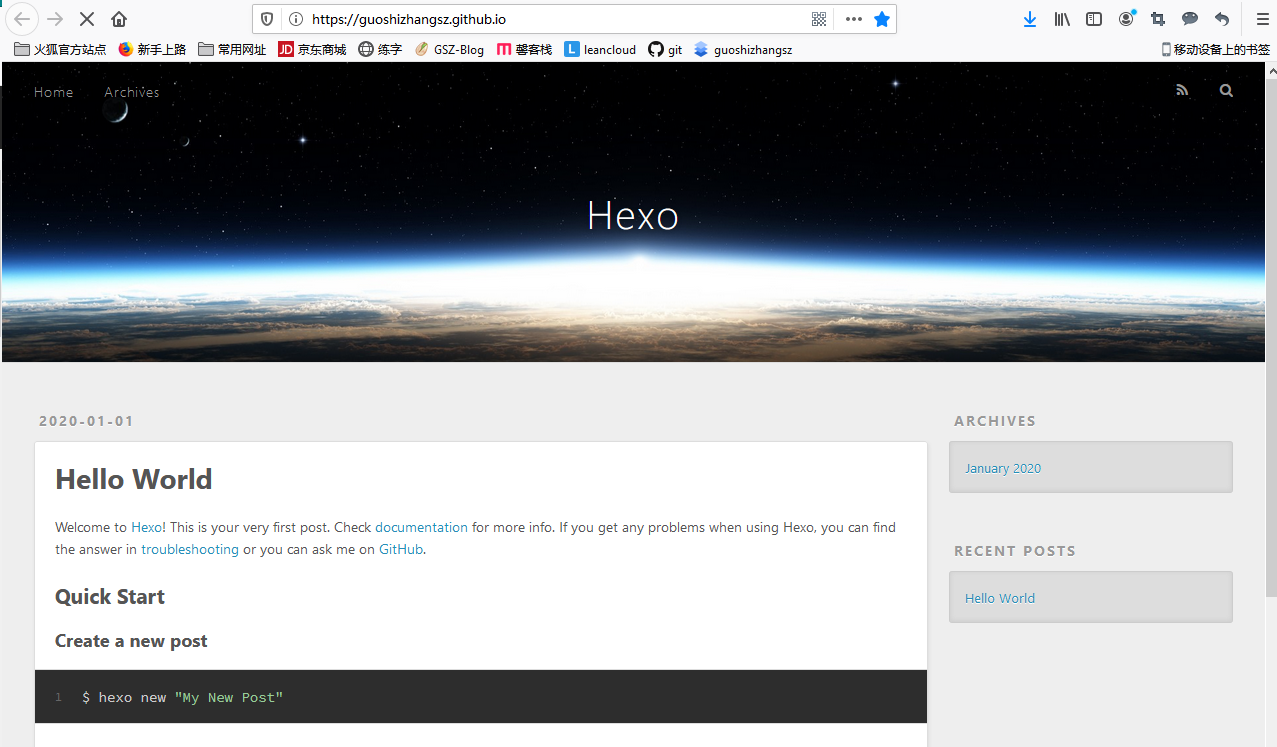
访问自己的博客
在浏览器地址栏中输入 Github昵称.github.io 即可访问,示例如下图:
到此为止,整个博客的搭建以及部署已经完成了。如果需要更换自己的博客主题,或者添加各种插件美化自己的博客,那就请往下阅读:第三阶段:Blog 的基本美化。
第三阶段:Blog 的基本美化
配置 icarus 主题
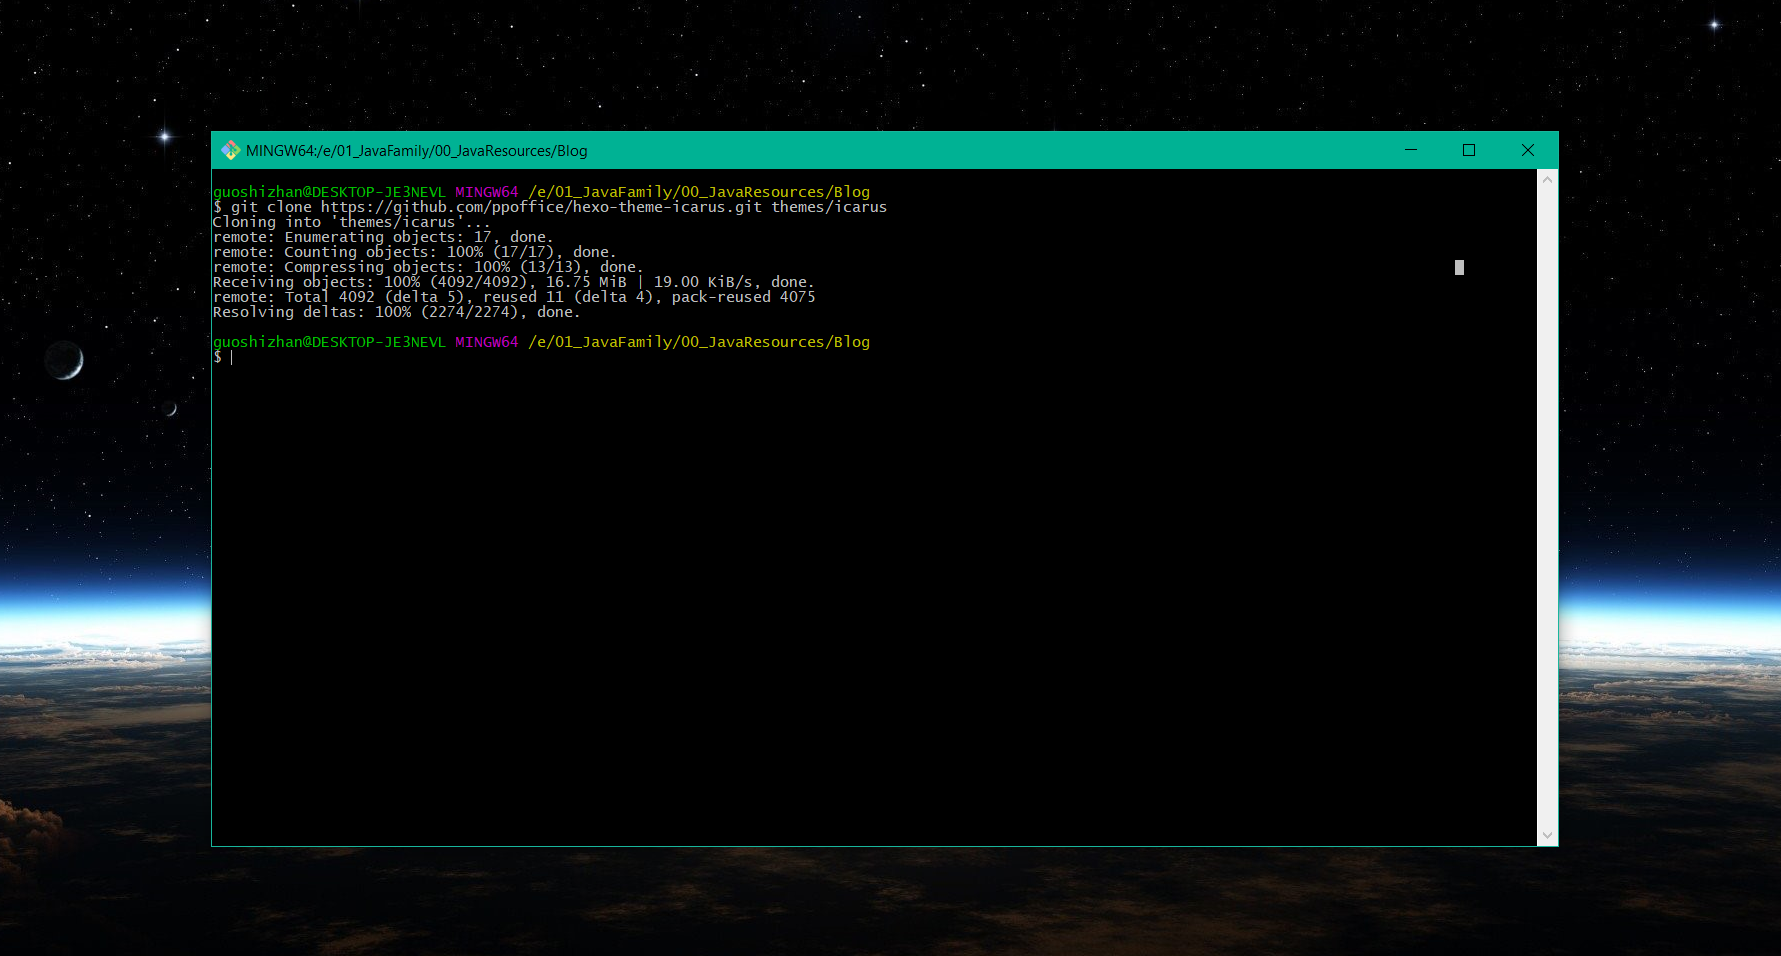
第一步,在 Blog 目录下打开 Git Bash Here,然后复制以下命令,粘贴到 Git 窗口:
1 | git clone https://github.com/ppoffice/hexo-theme-icarus.git themes/icarus |
完成之后,如下图所示:
使用 notepad++,把 Blog 目录下的配置文件 _config.yml 打开,然后划到此文件最底部,找到 theme 这个单词,把它的值改为 icarus 即可,如下图命令所示:(以后你换其他的主题,都是这样。)
1 | # Extensions |
第二步,修改完成后保存,回到 Git 窗口按顺序执行以下三个命令:
1 | # 把原先编译的文件清理 |
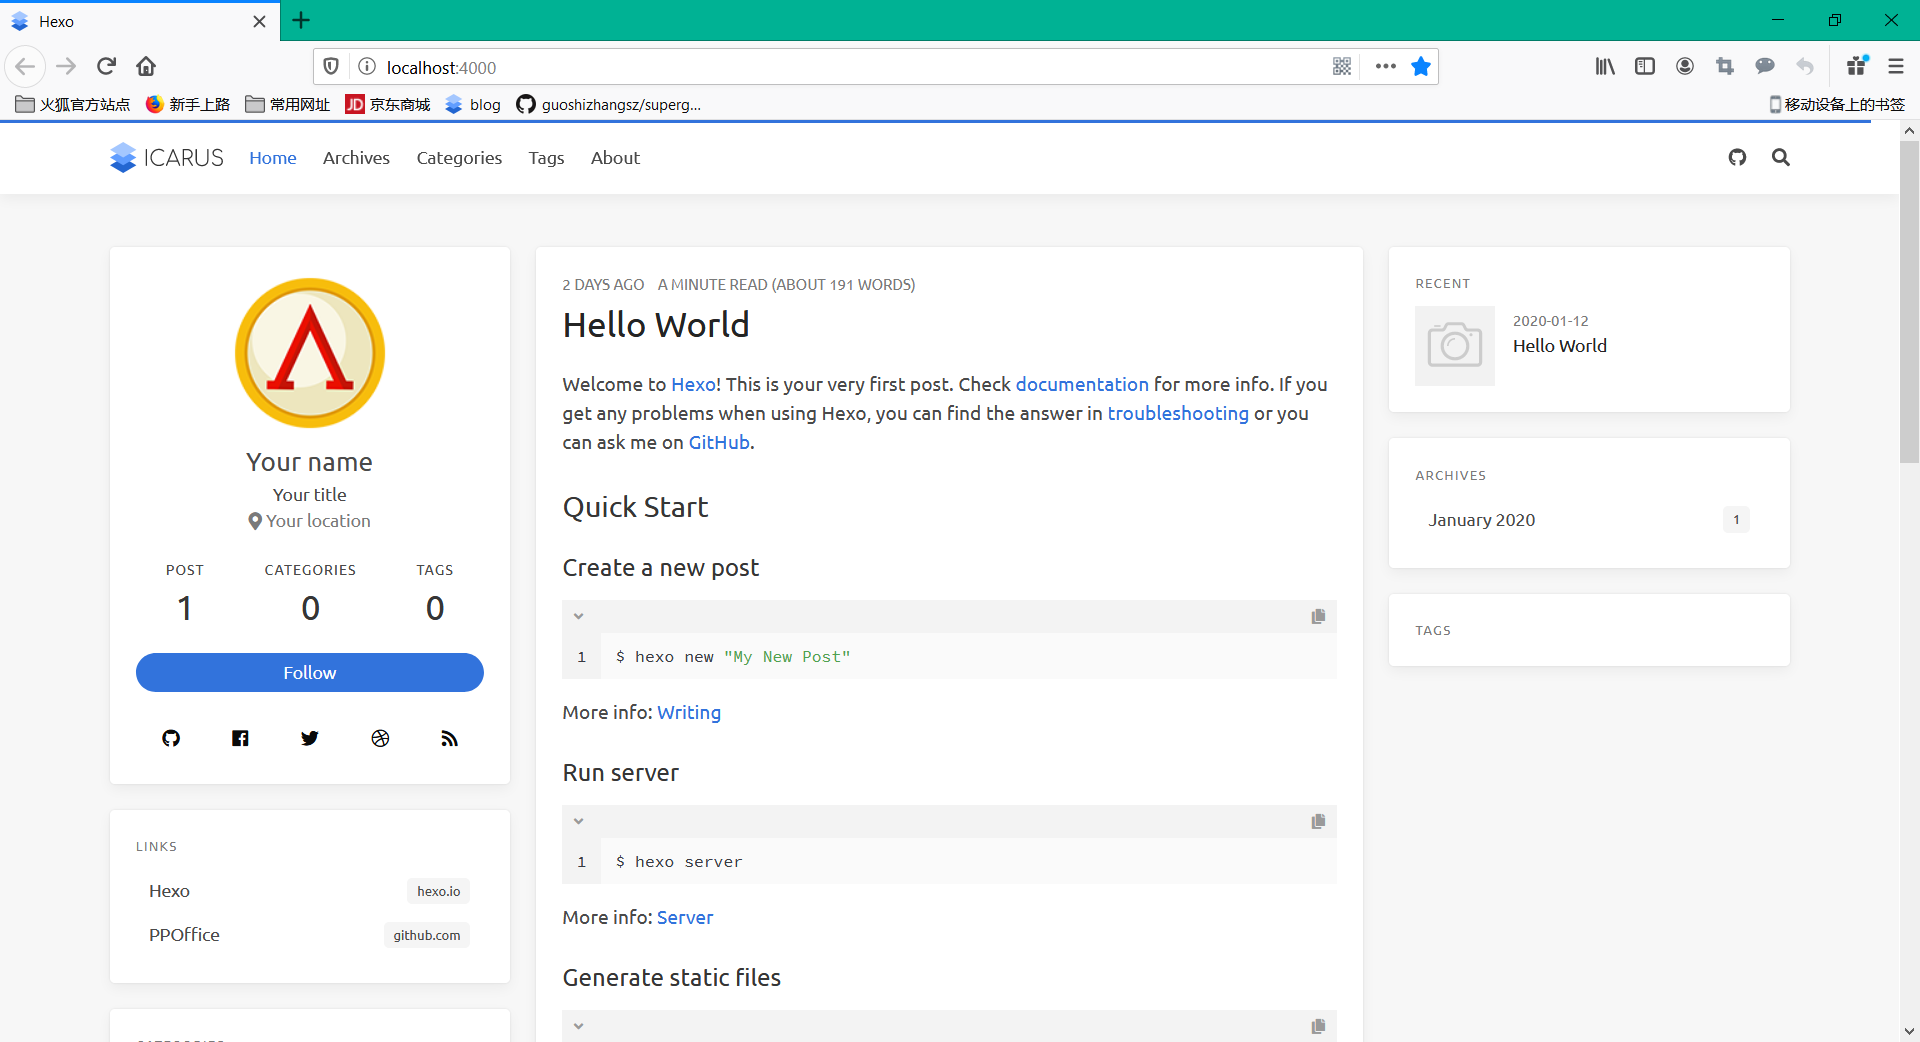
打开浏览器访问 4000 端口,如看到以下界面,则代表主题配置成功。
设置主题语言为中文
打开 blog 目录下的配置文件 _config.yml,在最顶部 language 那里,把 en 修改为 zh-CN 即可,如下命令所示:
1 | # Hexo Configuration |
修改完成之后保存,hexo g,hexo s 即可。若看到以下蓝色框部分是中文,那么语言修改成功了。如图所示:
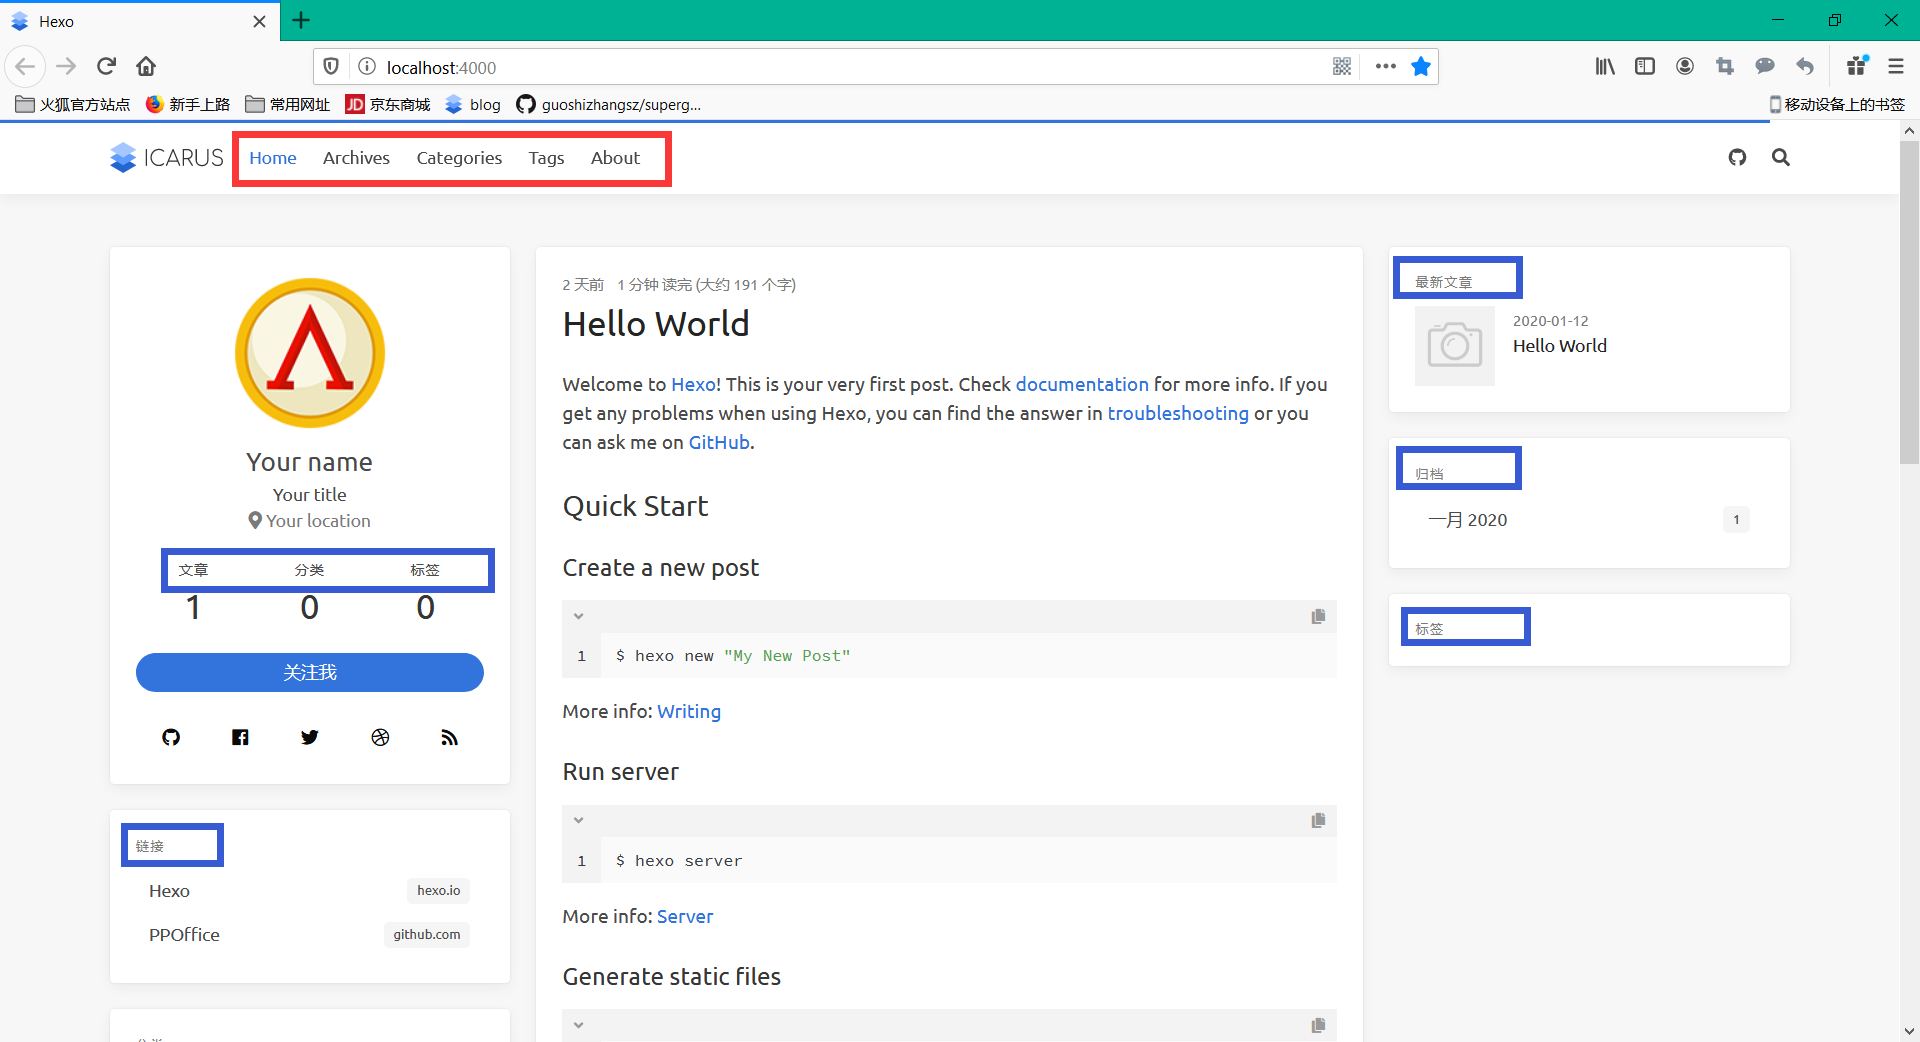
第二步,修改顶部红色框标记的那些英文。进入到 Blog 目录,然后进入 themes 目录,然后进入 icarus 目录,打开配置文件 _config.yml,找到 navbar,修改如下所示:
1 | navbar: |
修改完成之后保存,hexo g,hexo s即可。若结果和下图一样,那么修改成功!
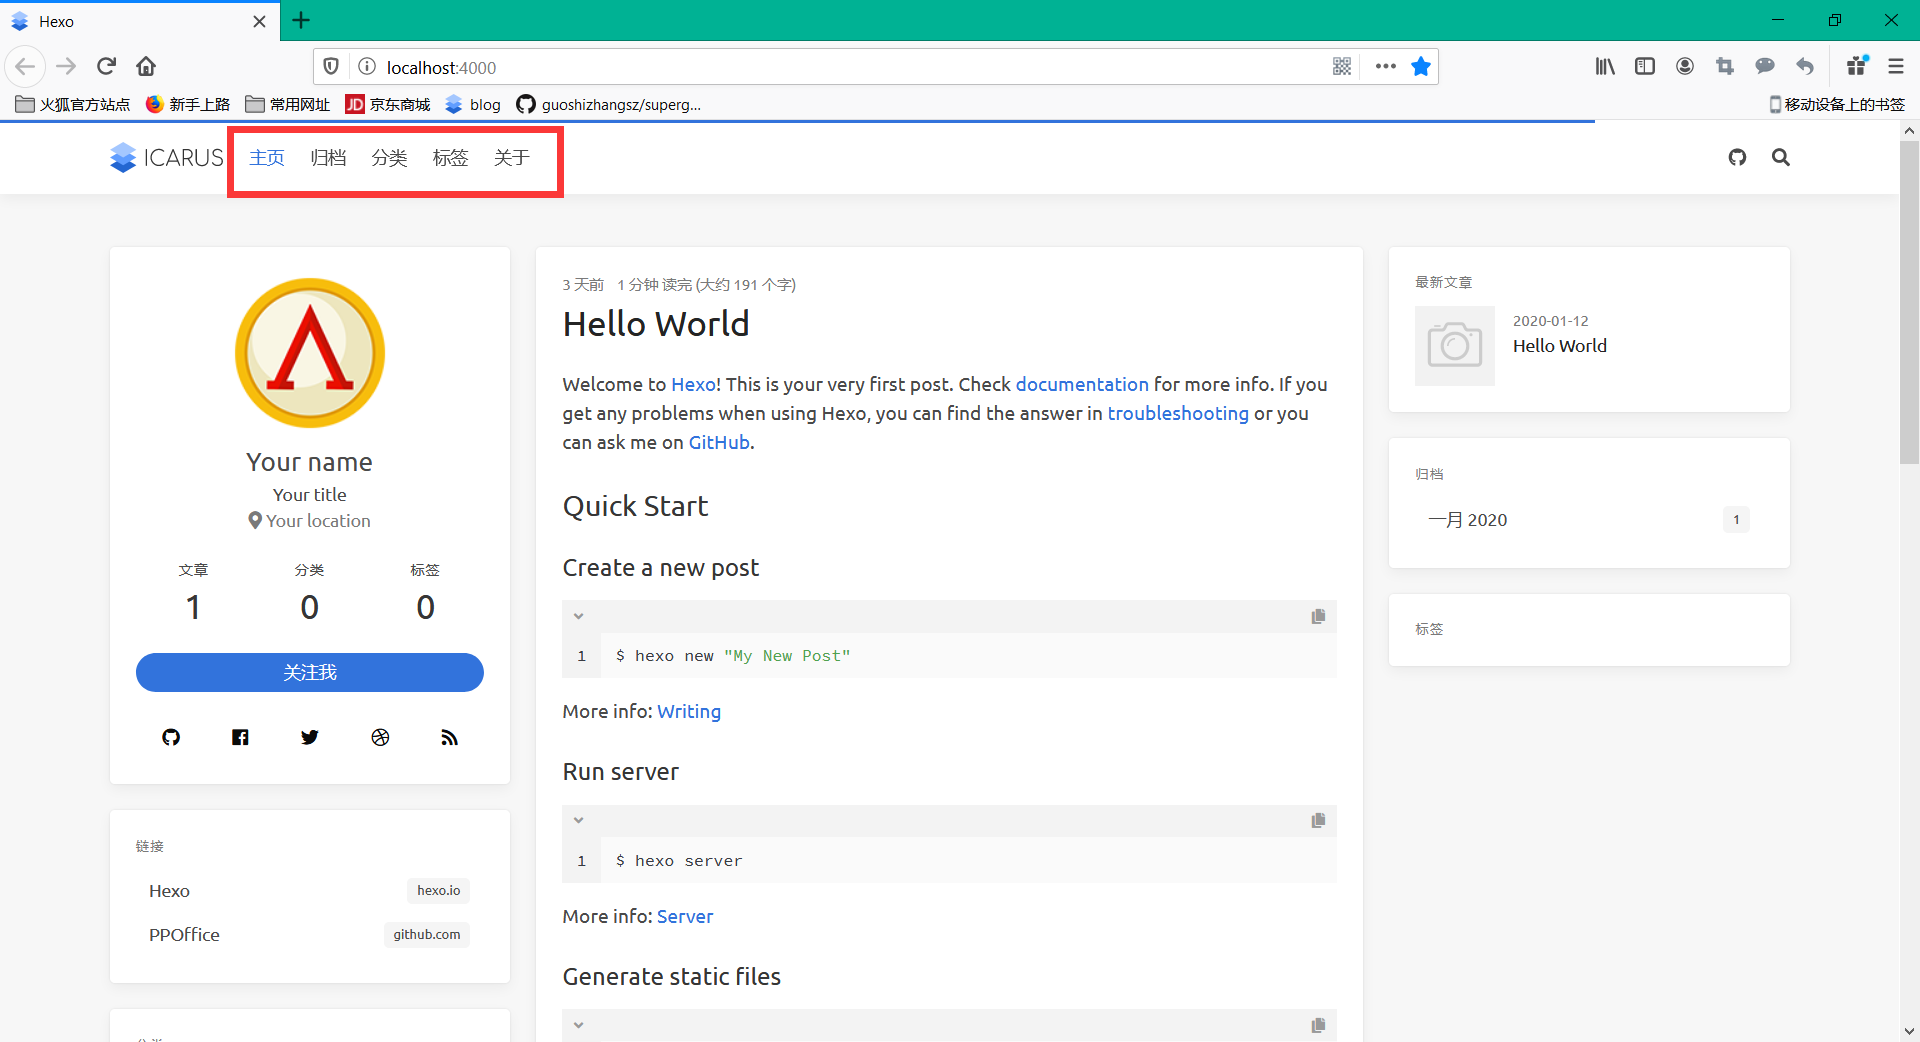
第三步,修改下图的左侧部分:
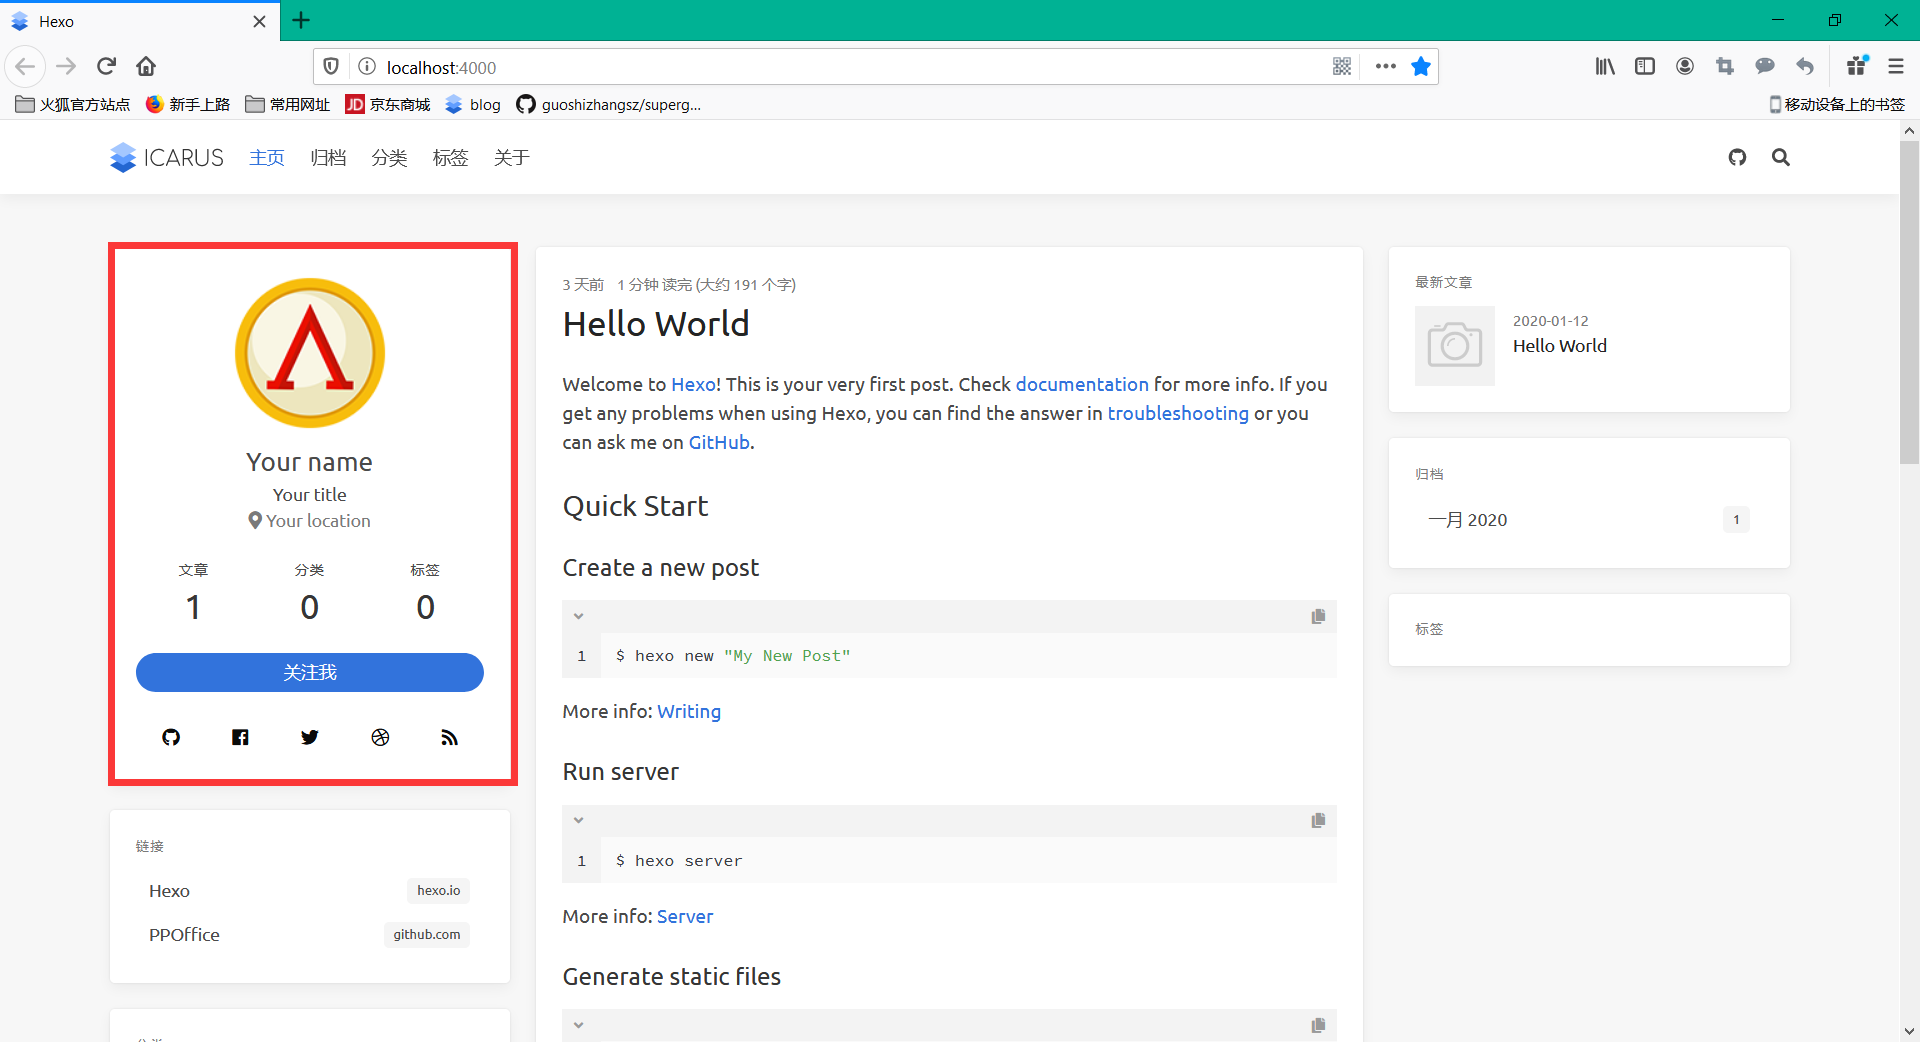
仍然打开 themes / icarus 下的配置文件,修改如下:
1 | widgets: |
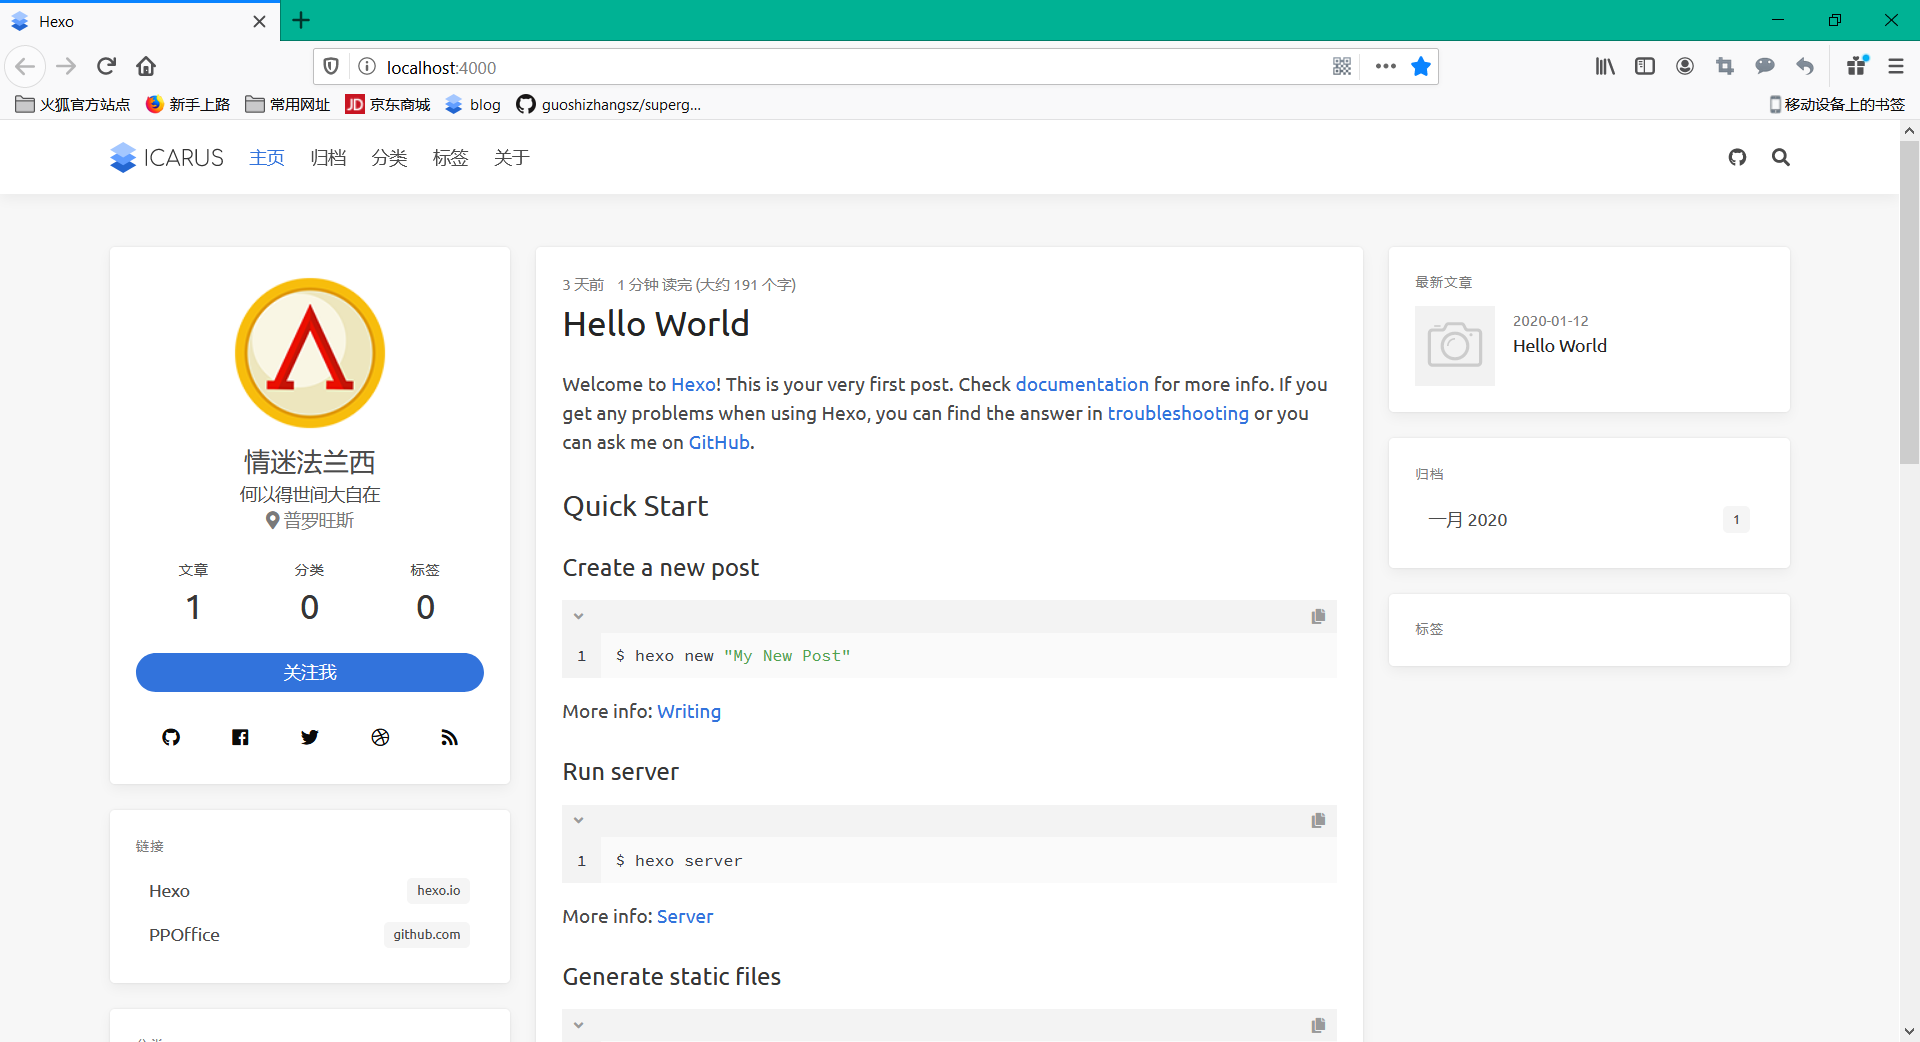
把自己的名字、标题和位置修改就行了。还有一项,把这个配置文件的115行和120行修改为 true。建议把它修改为 true。不修改的话,左右两边侧栏会随着页面的滚动而滚动。到这里为止,icarus 主题的基本美化就搞定了。最终效果如下图:
设置网站底部
第一步,在网站底部配置运行时间和总访问量。打开 footer.ejs 这个文件,把里面的内容清空,再把以下代码复制进去。
1 | <footer class="footer"> |
复制完成之后保存,回到 git 窗口,使用 pwd 目录查看当前所处的目录,如果不是在 Blog 目录下,请切换到这个目录,然后 hexo g,hexo s。最终效果如图:

动态背景和点击特效
把以下代码复制到 icarus / layout / layout.ejs 里面 </body> 上一行即可。
1 | <!--落花的特效--> |
然后去 js 文件夹下建一个 fireworks.js 文件,名字必须是 fireworks.js。点击右上角复制代码,粘贴到 fireworks.js 里面即可:
1 | ;function updateCoords(e){pointerX=(e.clientX||e.touches[0].clientX)-canvasEl.getBoundingClientRect().left,pointerY=e.clientY||e.touches[0].clientY-canvasEl.getBoundingClientRect().top}function setParticuleDirection(e){var t=anime.random(0,360)*Math.PI/180,a=anime.random(50,180),n=[-1,1][anime.random(0,1)]*a;return{x:e.x+n*Math.cos(t),y:e.y+n*Math.sin(t)}}function createParticule(e,t){var a={};return a.x=e,a.y=t,a.color=colors[anime.random(0,colors.length-1)],a.radius=anime.random(16,32),a.endPos=setParticuleDirection(a),a.draw=function(){ctx.beginPath(),ctx.arc(a.x,a.y,a.radius,0,2*Math.PI,!0),ctx.fillStyle=a.color,ctx.fill()},a}function createCircle(e,t){var a={};return a.x=e,a.y=t,a.color="#F00",a.radius=0.1,a.alpha=0.5,a.lineWidth=6,a.draw=function(){ctx.globalAlpha=a.alpha,ctx.beginPath(),ctx.arc(a.x,a.y,a.radius,0,2*Math.PI,!0),ctx.lineWidth=a.lineWidth,ctx.strokeStyle=a.color,ctx.stroke(),ctx.globalAlpha=1},a}function renderParticule(e){for(var t=0;t<e.animatables.length;t++){e.animatables[t].target.draw()}}function animateParticules(e,t){for(var a=createCircle(e,t),n=[],i=0;i<numberOfParticules;i++){n.push(createParticule(e,t))}anime.timeline().add({targets:n,x:function(e){return e.endPos.x},y:function(e){return e.endPos.y},radius:0.1,duration:anime.random(1200,1800),easing:"easeOutExpo",update:renderParticule}).add({targets:a,radius:anime.random(80,160),lineWidth:0,alpha:{value:0,easing:"linear",duration:anime.random(600,800)},duration:anime.random(1200,1800),easing:"easeOutExpo",update:renderParticule,offset:0})}function debounce(e,t){var a;return function(){var n=this,i=arguments;clearTimeout(a),a=setTimeout(function(){e.apply(n,i)},t)}}var canvasEl=document.querySelector(".fireworks");if(canvasEl){var ctx=canvasEl.getContext("2d"),numberOfParticules=30,pointerX=0,pointerY=0,tap="mousedown",colors=["#FF1461","#18FF92","#5A87FF","#FBF38C"],setCanvasSize=debounce(function(){canvasEl.width=2*window.innerWidth,canvasEl.height=2*window.innerHeight,canvasEl.style.width=window.innerWidth+"px",canvasEl.style.height=window.innerHeight+"px",canvasEl.getContext("2d").scale(2,2)},500),render=anime({duration:1/0,update:function(){ctx.clearRect(0,0,canvasEl.width,canvasEl.height)}});document.addEventListener(tap,function(e){"sidebar"!==e.target.id&&"toggle-sidebar"!==e.target.id&&"A"!==e.target.nodeName&&"IMG"!==e.target.nodeName&&(render.play(),updateCoords(e),animateParticules(pointerX,pointerY))},!1),setCanvasSize(),window.addEventListener("resize",setCanvasSize,!1)}"use strict";function updateCoords(e){pointerX=(e.clientX||e.touches[0].clientX)-canvasEl.getBoundingClientRect().left,pointerY=e.clientY||e.touches[0].clientY-canvasEl.getBoundingClientRect().top}function setParticuleDirection(e){var t=anime.random(0,360)*Math.PI/180,a=anime.random(50,180),n=[-1,1][anime.random(0,1)]*a;return{x:e.x+n*Math.cos(t),y:e.y+n*Math.sin(t)}}function createParticule(e,t){var a={};return a.x=e,a.y=t,a.color=colors[anime.random(0,colors.length-1)],a.radius=anime.random(16,32),a.endPos=setParticuleDirection(a),a.draw=function(){ctx.beginPath(),ctx.arc(a.x,a.y,a.radius,0,2*Math.PI,!0),ctx.fillStyle=a.color,ctx.fill()},a}function createCircle(e,t){var a={};return a.x=e,a.y=t,a.color="#F00",a.radius=0.1,a.alpha=0.5,a.lineWidth=6,a.draw=function(){ctx.globalAlpha=a.alpha,ctx.beginPath(),ctx.arc(a.x,a.y,a.radius,0,2*Math.PI,!0),ctx.lineWidth=a.lineWidth,ctx.strokeStyle=a.color,ctx.stroke(),ctx.globalAlpha=1},a}function renderParticule(e){for(var t=0;t<e.animatables.length;t++){e.animatables[t].target.draw()}}function animateParticules(e,t){for(var a=createCircle(e,t),n=[],i=0;i<numberOfParticules;i++){n.push(createParticule(e,t))}anime.timeline().add({targets:n,x:function(e){return e.endPos.x},y:function(e){return e.endPos.y},radius:0.1,duration:anime.random(1200,1800),easing:"easeOutExpo",update:renderParticule}).add({targets:a,radius:anime.random(80,160),lineWidth:0,alpha:{value:0,easing:"linear",duration:anime.random(600,800)},duration:anime.random(1200,1800),easing:"easeOutExpo",update:renderParticule,offset:0})}function debounce(e,t){var a;return function(){var n=this,i=arguments;clearTimeout(a),a=setTimeout(function(){e.apply(n,i)},t)}}var canvasEl=document.querySelector(".fireworks");if(canvasEl){var ctx=canvasEl.getContext("2d"),numberOfParticules=30,pointerX=0,pointerY=0,tap="mousedown",colors=["#FF1461","#18FF92","#5A87FF","#FBF38C"],setCanvasSize=debounce(function(){canvasEl.width=2*window.innerWidth,canvasEl.height=2*window.innerHeight,canvasEl.style.width=window.innerWidth+"px",canvasEl.style.height=window.innerHeight+"px",canvasEl.getContext("2d").scale(2,2)},500),render=anime({duration:1/0,update:function(){ctx.clearRect(0,0,canvasEl.width,canvasEl.height)}});document.addEventListener(tap,function(e){"sidebar"!==e.target.id&&"toggle-sidebar"!==e.target.id&&"A"!==e.target.nodeName&&"IMG"!==e.target.nodeName&&(render.play(),updateCoords(e),animateParticules(pointerX,pointerY))},!1),setCanvasSize(),window.addEventListener("resize",setCanvasSize,!1)}; |
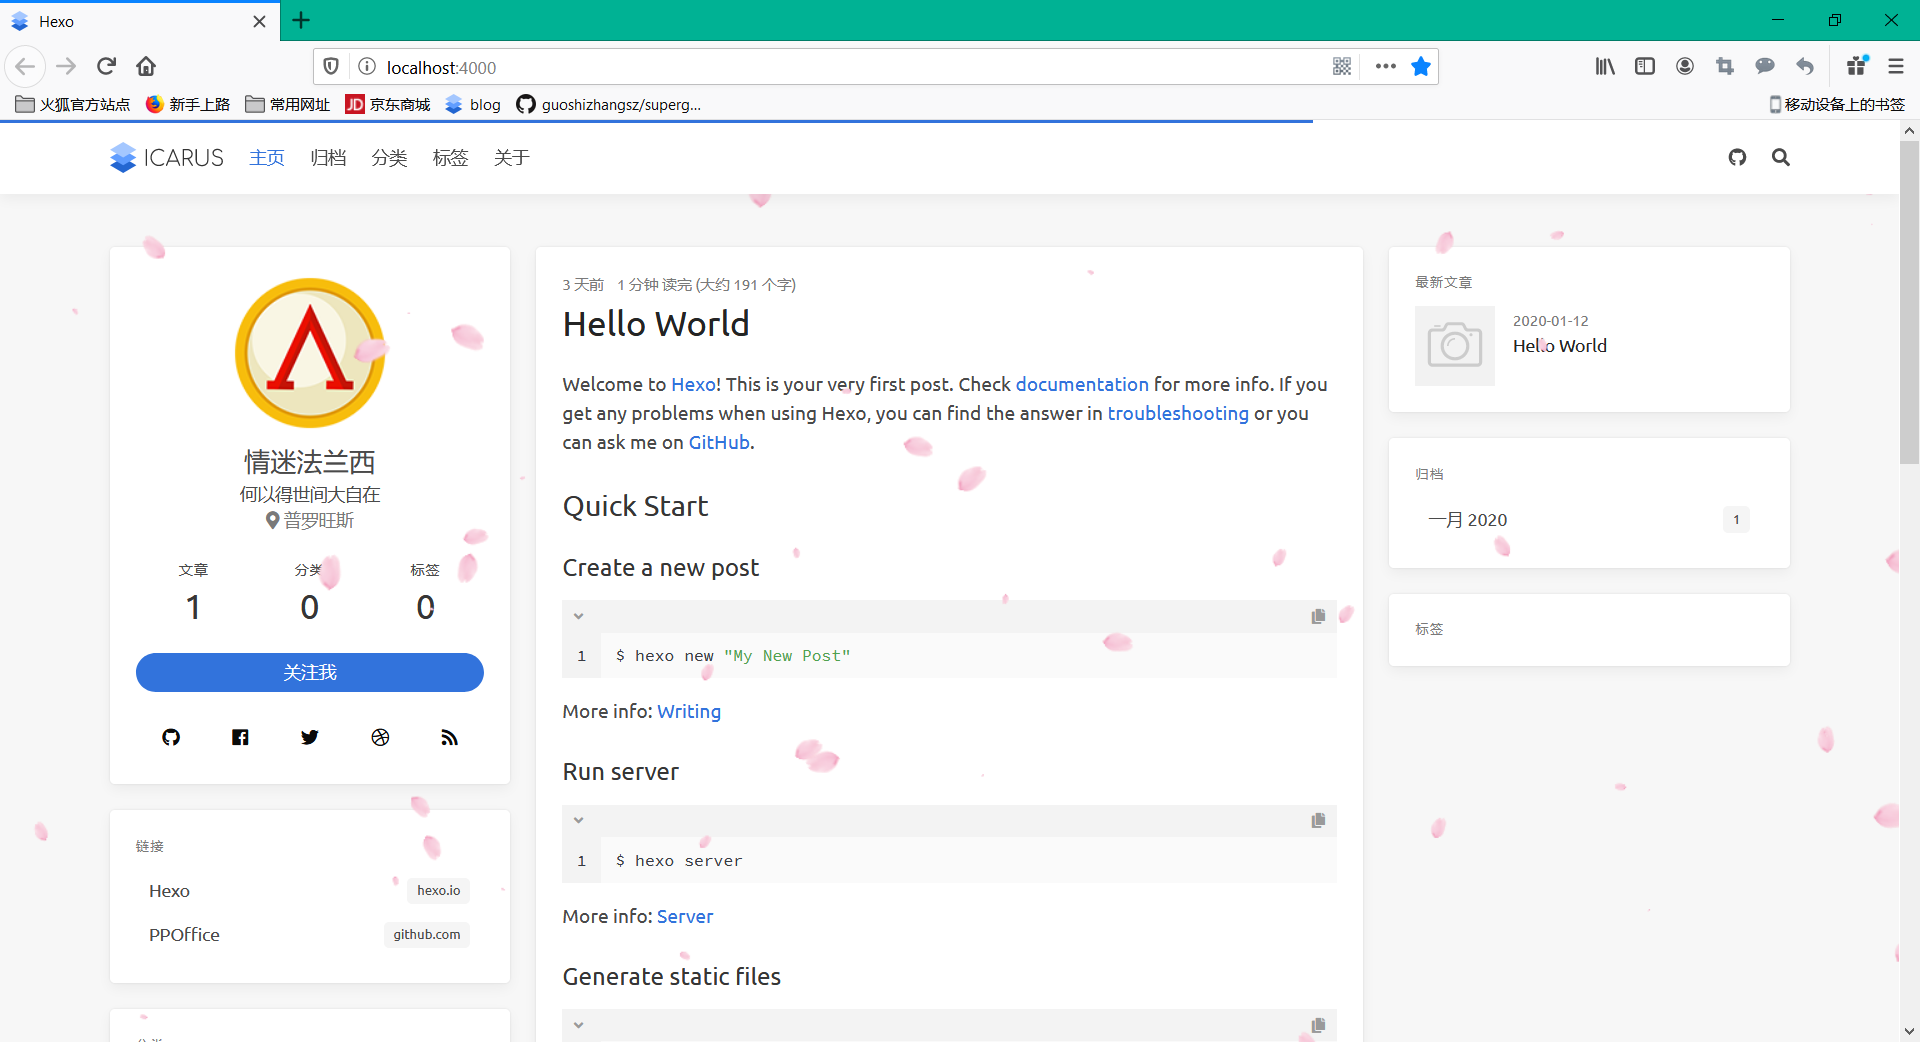
然后 hexo clean,hexo g,hexo s 即可。若具有点击效果和落花背景,那么你已经成功了。如下图:
背景图和头像
打开 style.styl 文件,照着以下修改;
1 | body |
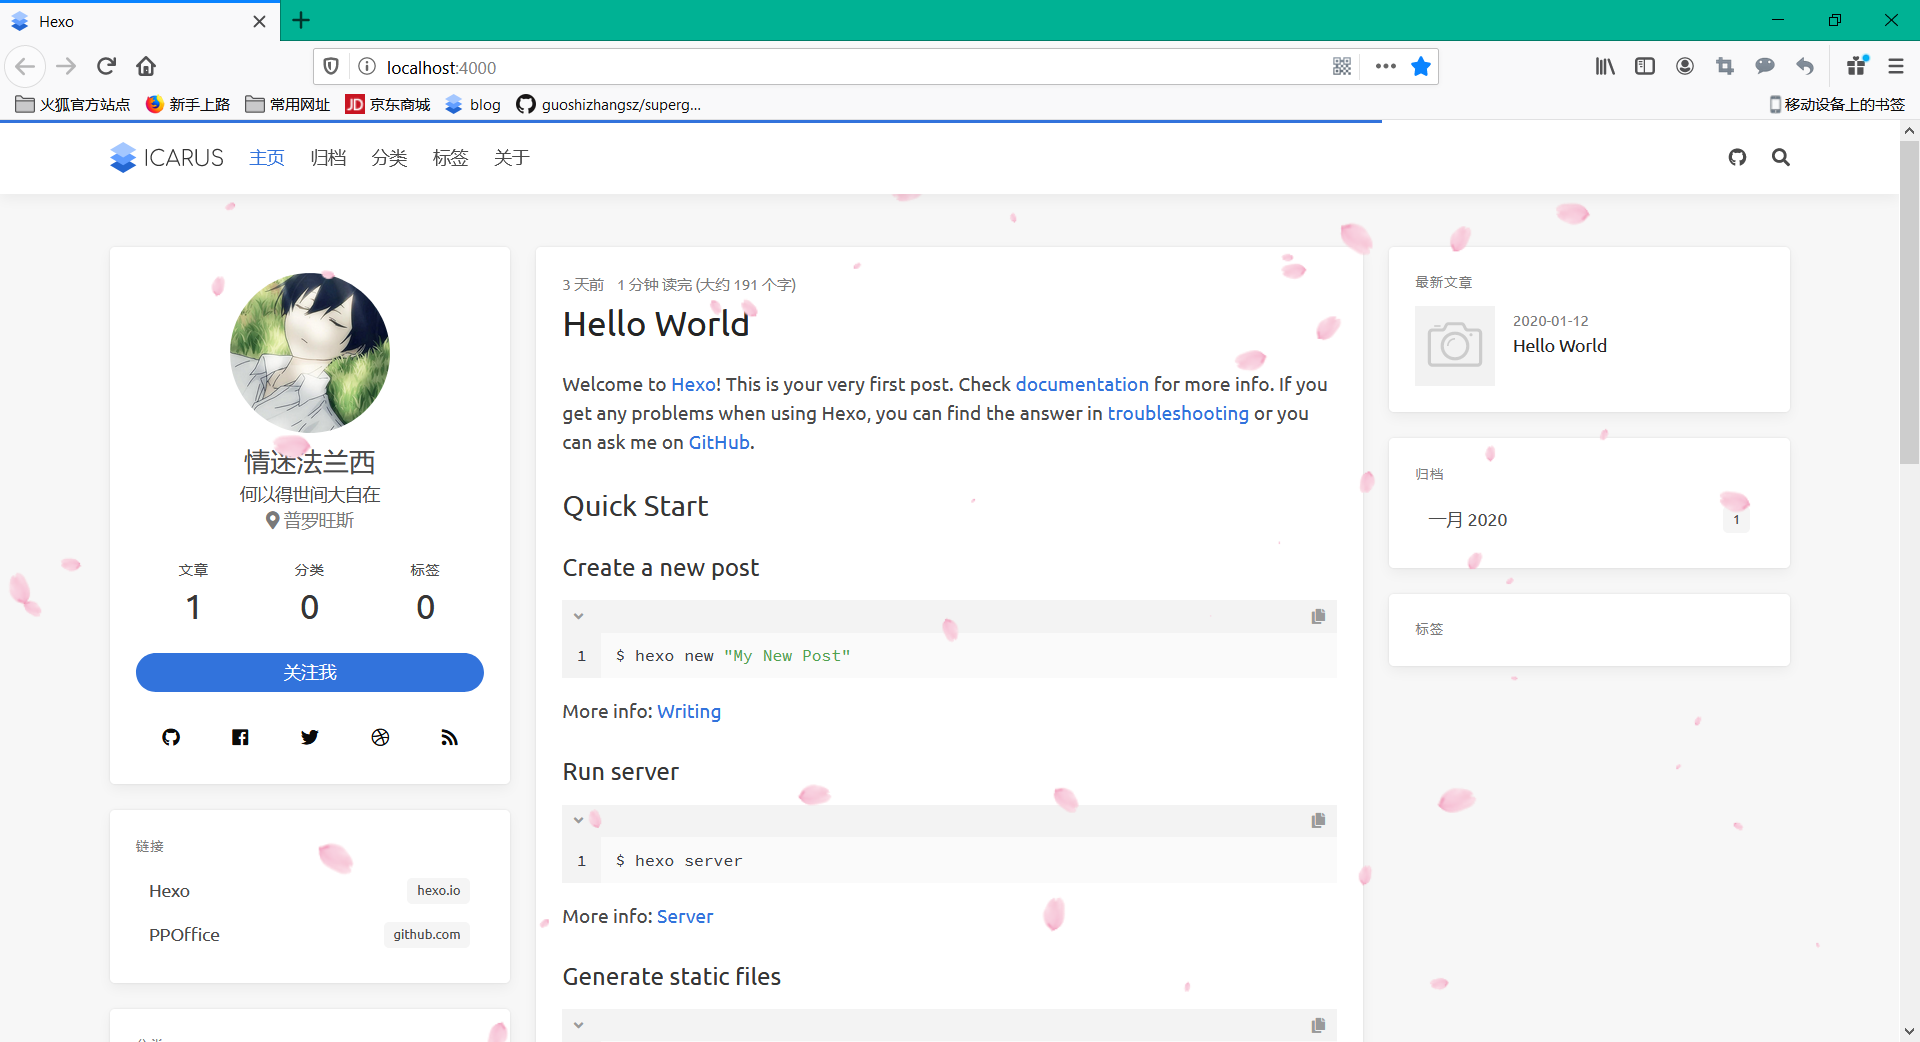
background01.jpg是themes/icarus/source/images文件夹下的图片,自己在这个文件夹添加自己的背景图片即可,图片名字随意。然后把avatar.png图片删掉,换一个你自己喜欢的头像,但名字仍然要是avatar.png,这样就修改好了博客头像。当然可以去其他地方进行配置,这就自己去研究了。然后hexo clean,hexo g,hexo s。最终效果如下图:
最后顺便说一下,这只是 hexo 里面的一个主题而已,如果你想要配置其他主题,那么请访问 hexo 的官网自行进行选择:https://hexo.io/themes/,配置可能不一样,但也相似。到这里,Blog 的基本美化就结束了。如需更高级配置,请阅读第四阶段:blog 高级美化,添加评论插件,看板娘配置,网易云音乐配置,分享配置,打赏配置等!
第四阶段:Blog 的高级美化
新建文章
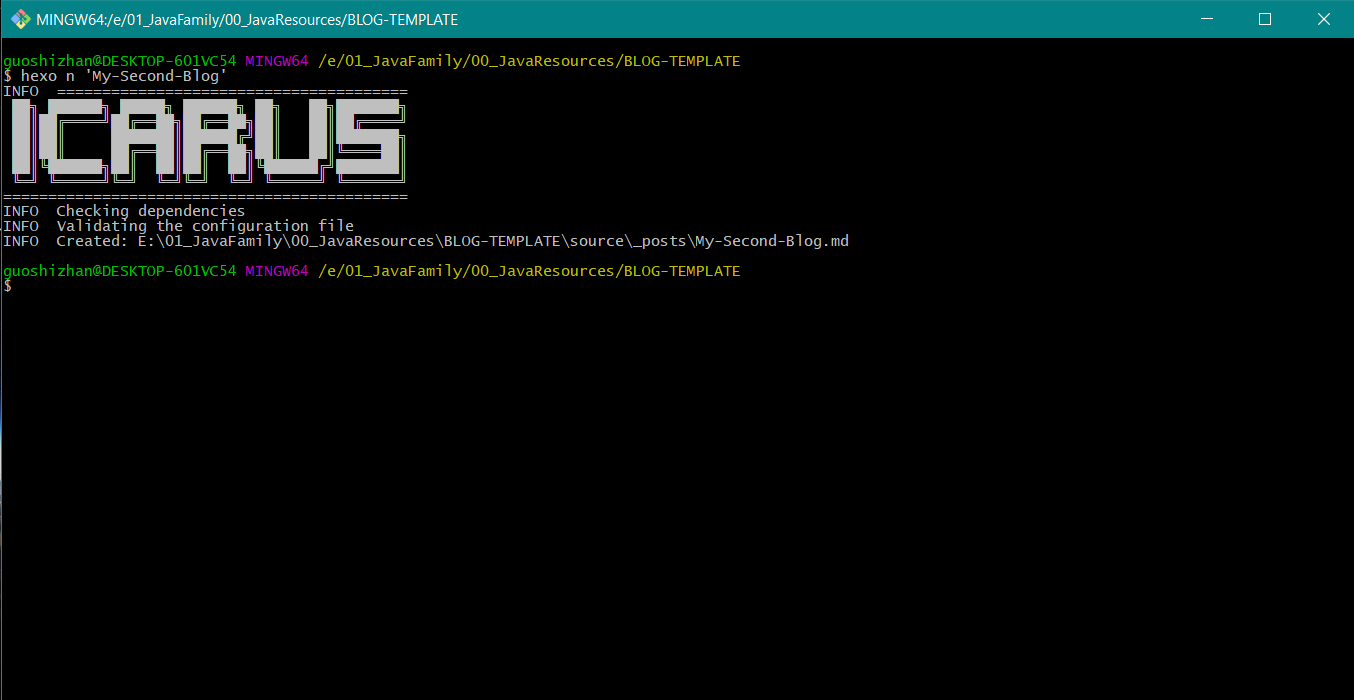
在 blog 目录下打开 Git 窗口,使用以下命令新建文章:
1 | hexo n "My-First-Blog" |
如下图所示:
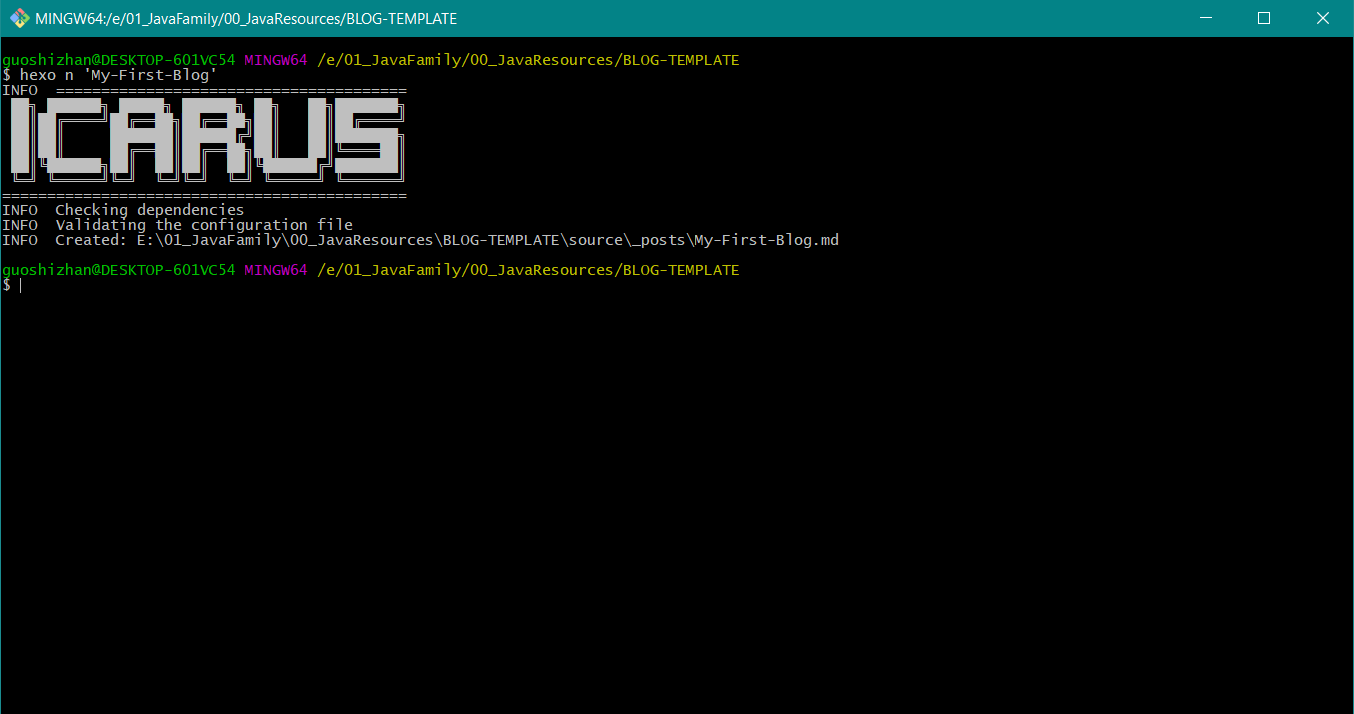
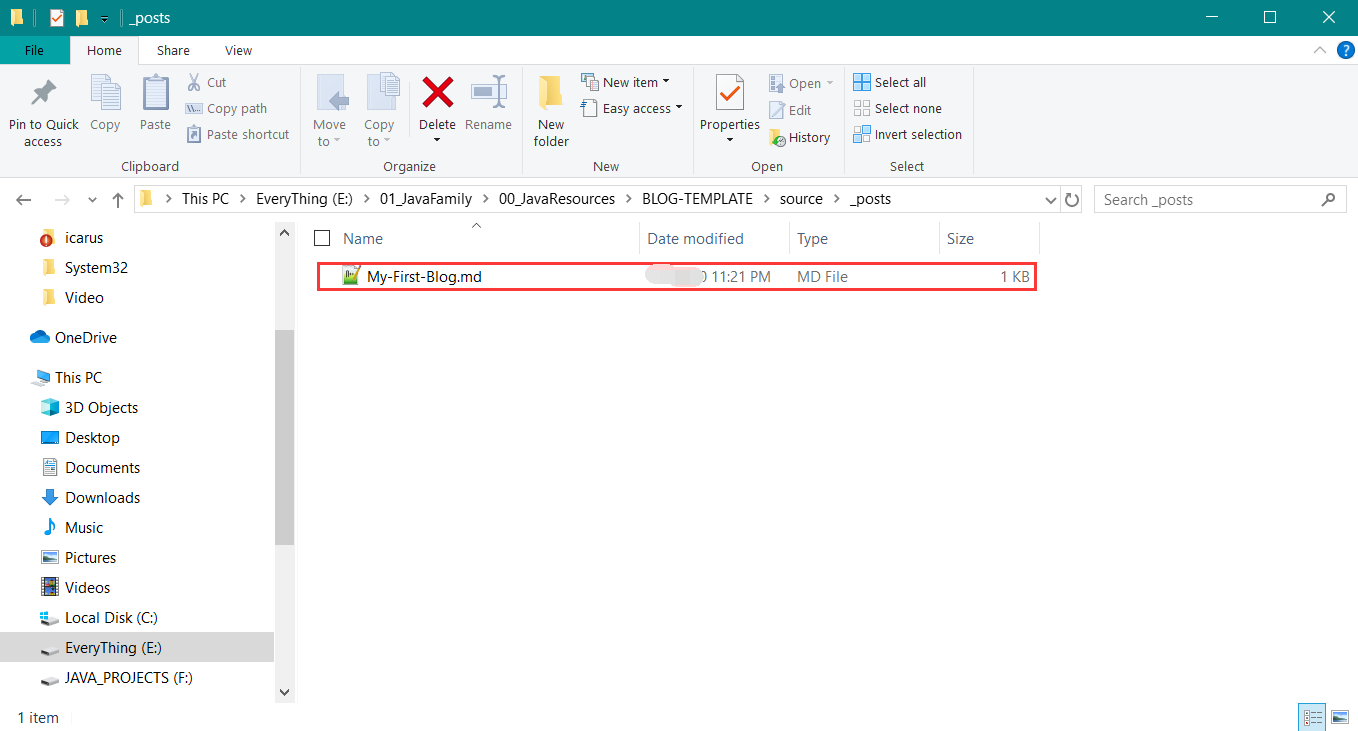
文章目录在Blog/source/_posts下,这个时候只有一个My-First-Blog.md文件,如下图:
编辑这个文件,使用 markdown 语法即可。写完之后就是你的第一篇博客文章了。
安装文章插件
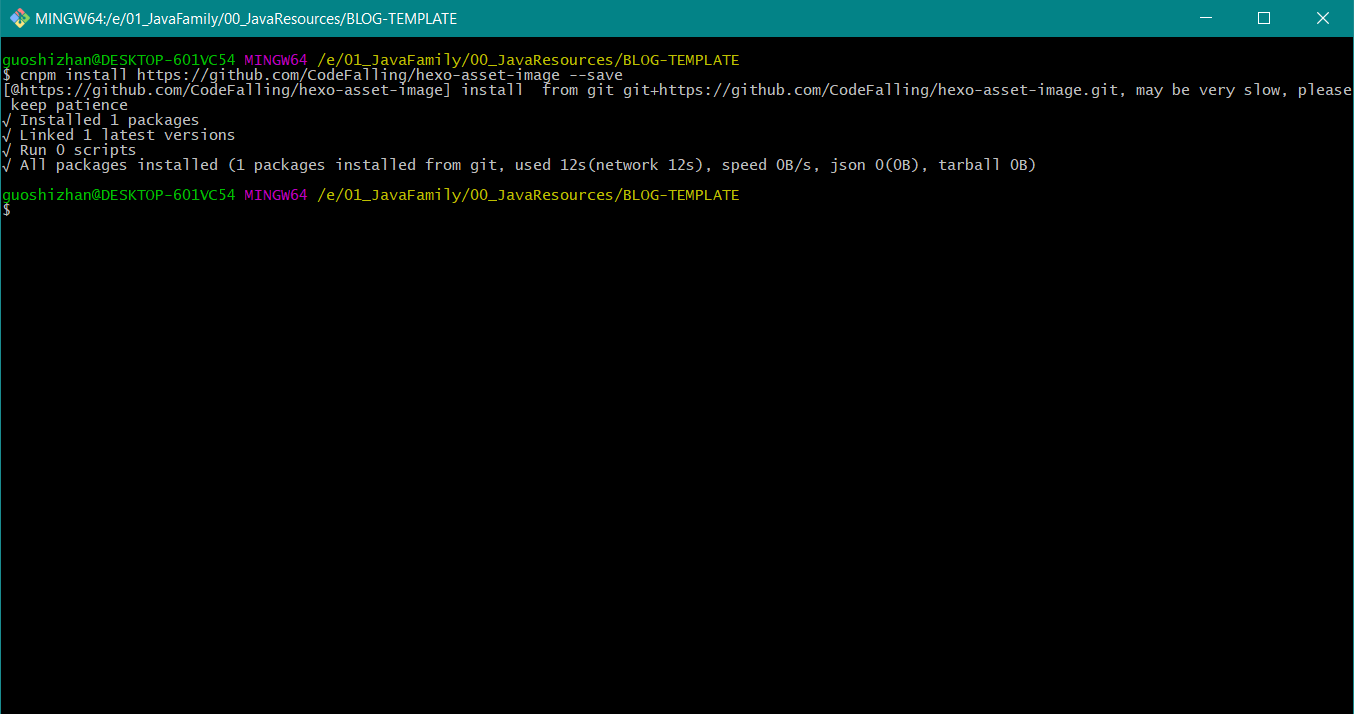
文章插件的作用就是生成文章的同时还带有一个文件夹,把图片放在这个文件夹里,这样保证在浏览博客文章时图片不显示的问题。安装命令如下:
1 | cnpm install https://github.com/CodeFalling/hexo-asset-image --save |
如图所示:
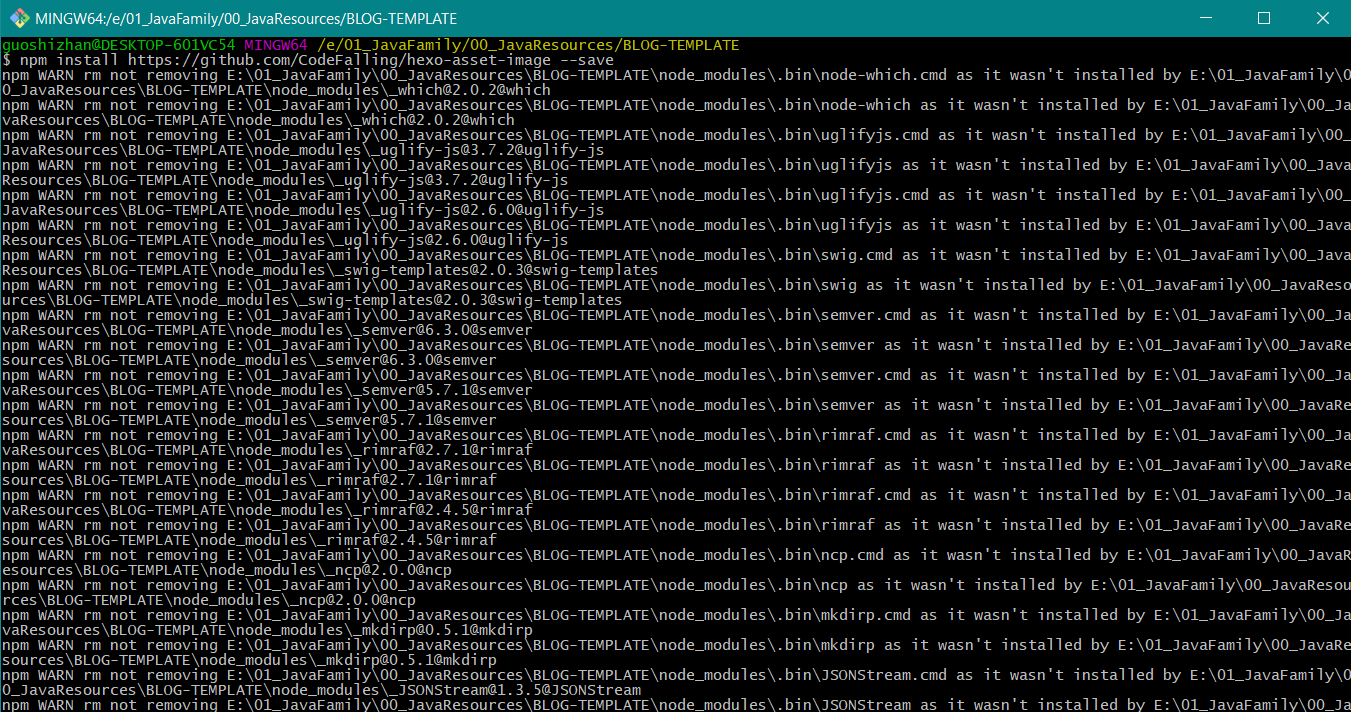
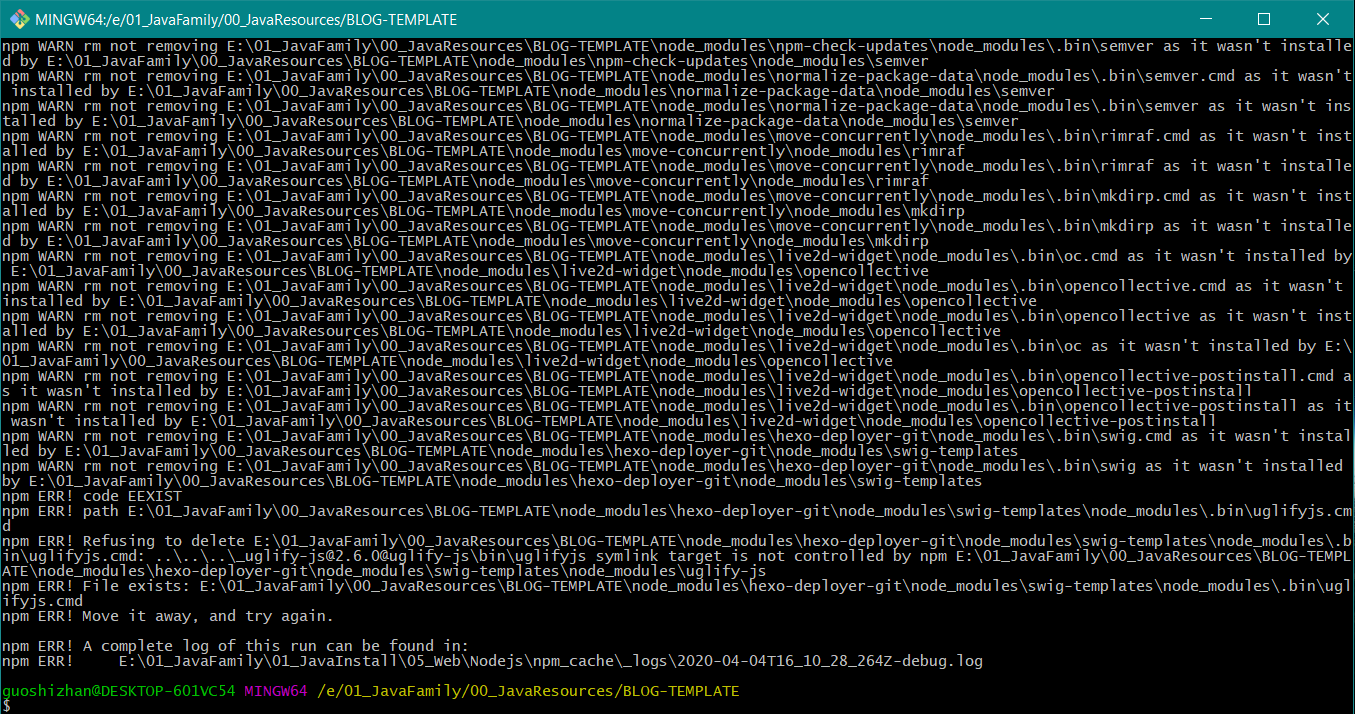
如果使用以下命令安装,那么可能报错或者没有效果。【主要原因是下载慢,网速可以的话应该是没问题的】如图所示:
1 | npm install https://github.com/CodeFalling/hexo-asset-image --save |
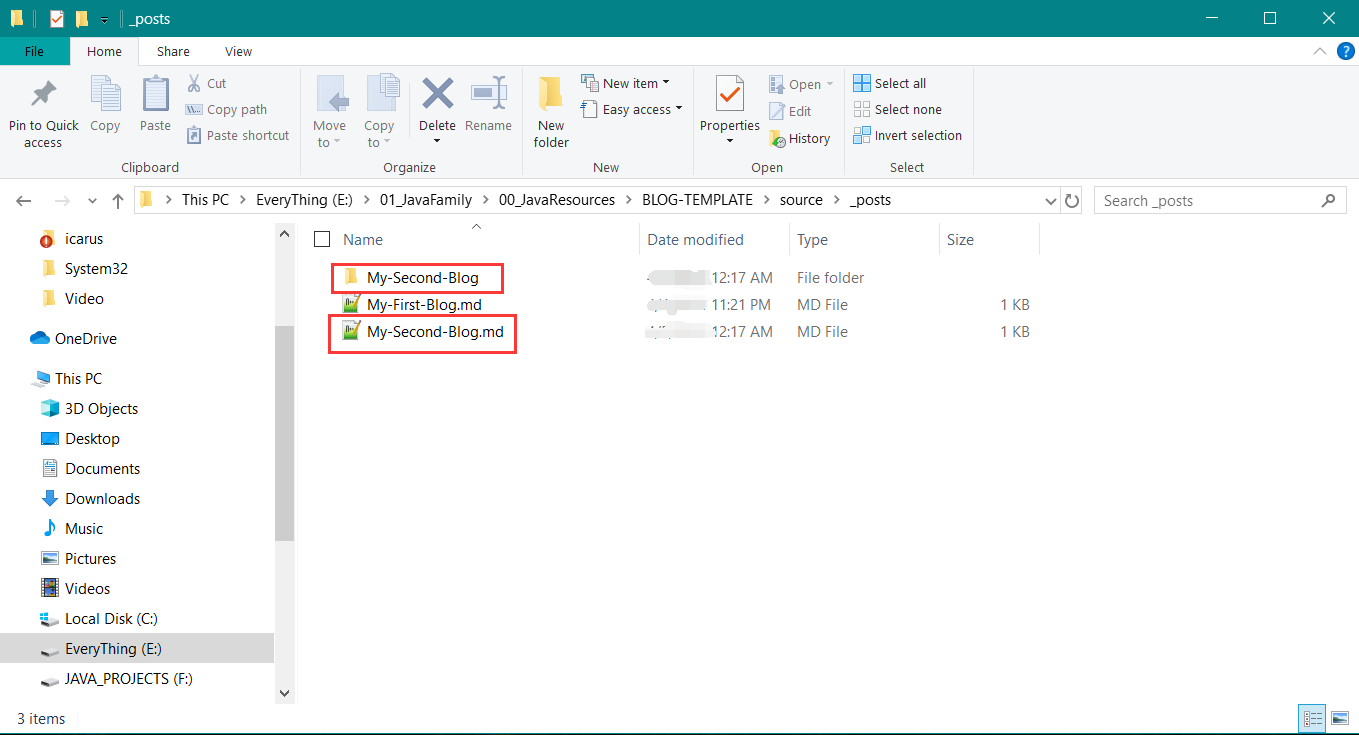
安装完成之后去blog目录下的配置文件中修改 post_asset_folder,把它的值改为 true,然后保存。回到 Git 窗口,重新使用新建文章命令,如图所示:
然后到Blog/source/_posts目录下,你可以看到有一个和文章同名的文件夹生成,如图所示:
阅读全文配置
写博客时想把文章的多少内容显示出来,就在那个地方加以下代码:
1 | <!--more--> |
或者在主题配置文件最后加入以下代码:
1 | auto_excerpt: |
接下来的就是自己写博客发博客了。至于怎么写博客,这里就不在多赘述了。有问题在评论区留言哦!
添加音乐插件
博客如果只有文字和图片,是不是太单调了点呀,那么就来点 Music 吧。至于怎么添加音乐插件以及如何去使用音乐插件,这里就不过多介绍了。按这个链接照做就是了。https://blog.csdn.net/hushhw/article/details/88092728 ,成功后如本博客一样。在这里顺便提一下如何设置页面字体。就是打开 themes/icarus/source/css/style.styl 文件,复制以下代码,把原来的替换即可。
1 | body, button, input, select, textarea |
添加看板娘插件
在 blog 目录下打开 Git 窗口,输入以下命令:
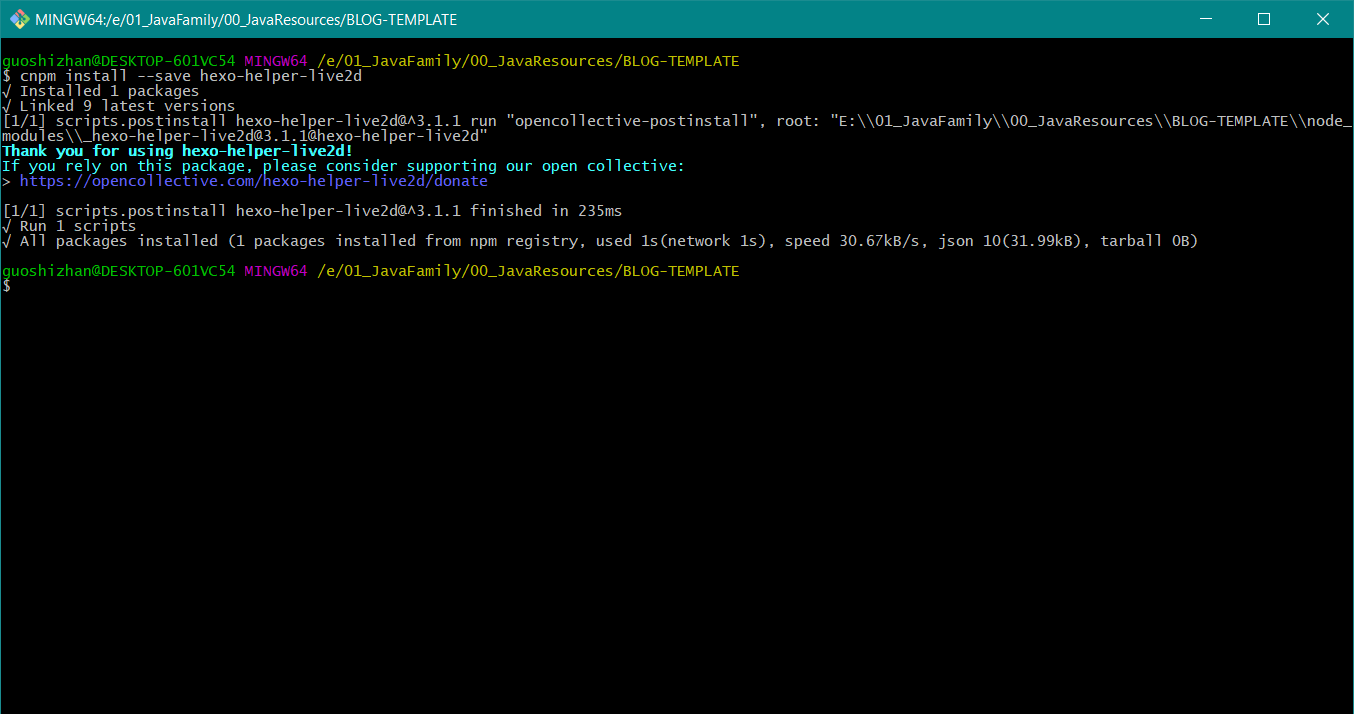
1 | cnpm install --save hexo-helper-live2d |
如图所示:
然后到 Blog 下的配置文件 _config.yml 中末尾加入以下代码:
1 | # 看板娘插件 |
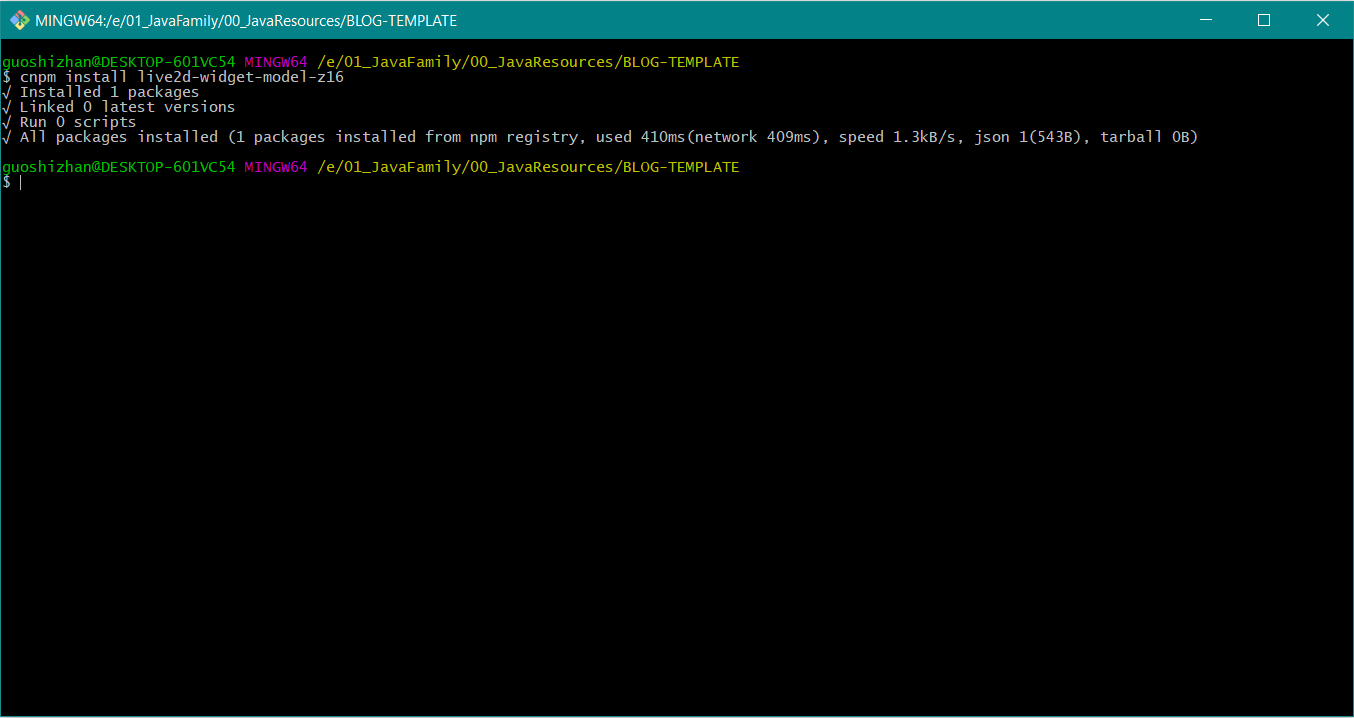
然后保存。回到 Git 窗口,这里要注意:上图橙色框部分要和下面 install 后面的模型要一致,否则没有效果。现在使用以下命令来安装看板娘模型:
1 | cnpm install live2d-widget-model-z16 |
如图所示:
最后生成启动 hexo g,hexo s。安装成功后,如下图所示:

配置打赏功能
在没有设置打赏之前,页面是这样的:

设置之后是这样的:

其实设置特别简单。打开 themes/icarus/_config.yml 文件,按以下方式进行修改:
1 | donate: |
就是把你的微信或支付宝收款码放到 icarus/source/images 目录下,上述图片路径就是这个路径。其他的打赏方式注释或者删除掉就可以了。若要保留,给它们配置图片即可。好了,打赏功能就配置好了。
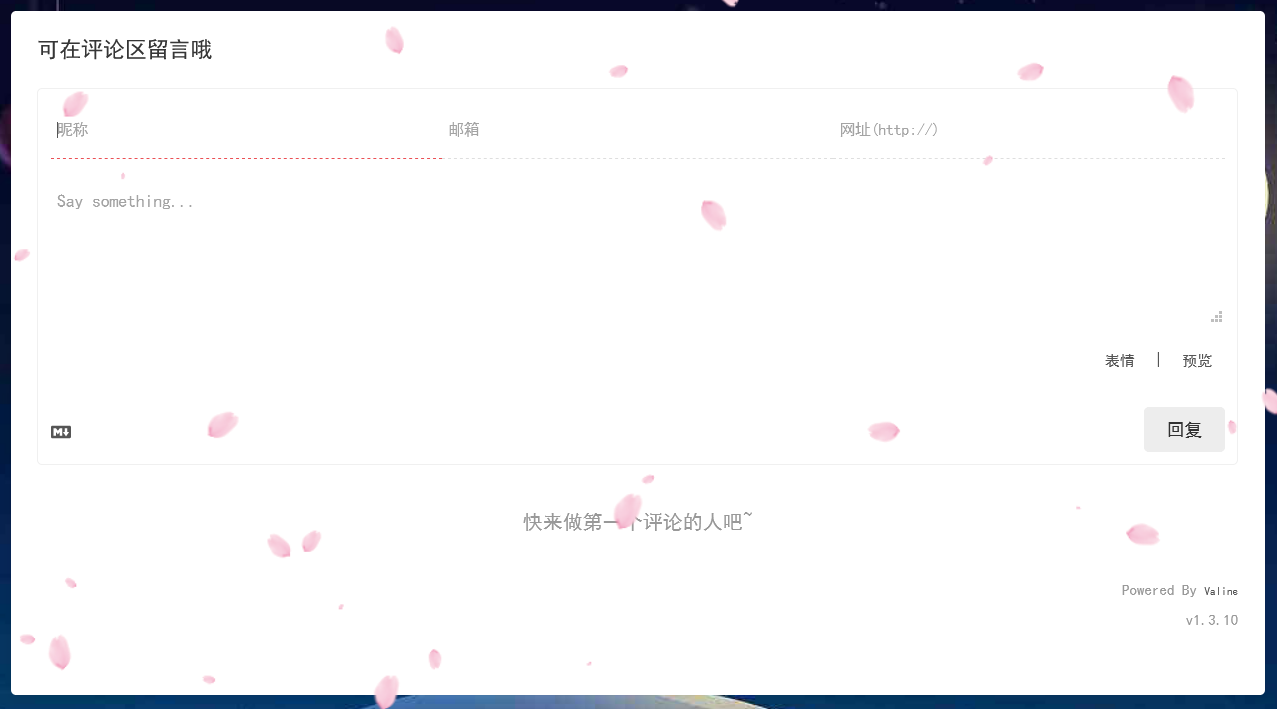
配置评论功能
评论功能和打赏功能是一样的。 把以下代码覆盖 themes/icarus/_config.yml 文件下的 comment 那一部分即可:
1 | comment: |
这里要说明一下,app_id 和 app_key 是需要自己去注册获取的,我这个应用 ID 可能以后会删除。这是注册应用的地址:https://leancloud.cn/dashboard/login.html#/signin ,具体的使用方法就自己百度一下了,我就不在这里过多的阐述。
然后保存,运行之后的效果如下图:
双栏布局
首页有左右侧边栏,其他页面只有左边侧边栏,这样可以在阅读文章的时候更舒服。
1 | +++ includes / helpers / layout.js |
文章区域放宽:这个文章内容区域是 12 格布局,可以修改 source / css / style.styl 文件中的 @media screen 样式如下:
1 | +++ css / style.styl |
再修改 layout / layout.ejs 和 layout / common / widget.ejs 的文件内容如下:
1 | +++ layout / layout.ejs |
实现之后的效果就如本博客所示了,首页三栏展示,文章和菜单页两栏展示。以下是我参考的两篇文章:
推荐文章地址01:https://dp2px.com/2019/06/04/icarus-theme/
推荐文章地址02:https://www.alphalxy.com/2019/03/customize-icarus/
到这里,博客的基本效果就有了,基本功能也实现了。如果还需要更加高级的配置,可以在评论区留言一起探讨,欢迎大家在评论区留言哦!